
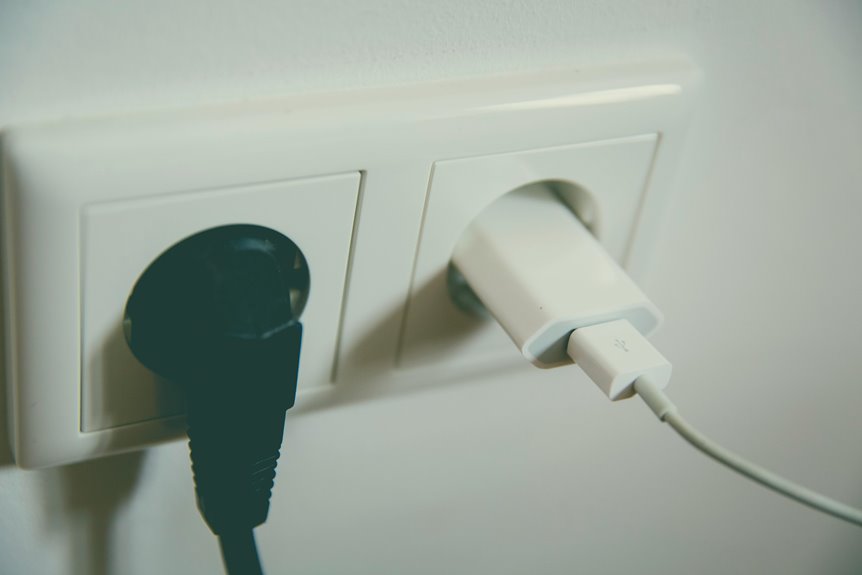
Before you panic, you can fix most dead outlets yourself! Start by checking your circuit breaker—flip the tripped switch fully off, then back on.
Next, try resetting any nearby GFCI outlets. Look for a wall switch controlling that outlet, which you might’ve missed.
Inspect for burnt wires or loose connections, and test if old outlets feel warm.
Unplug everything to rule out overload. If nothing works, call a licensed electrician.
Stick around to learn exactly how each fix works!
Check Your Circuit Breaker First
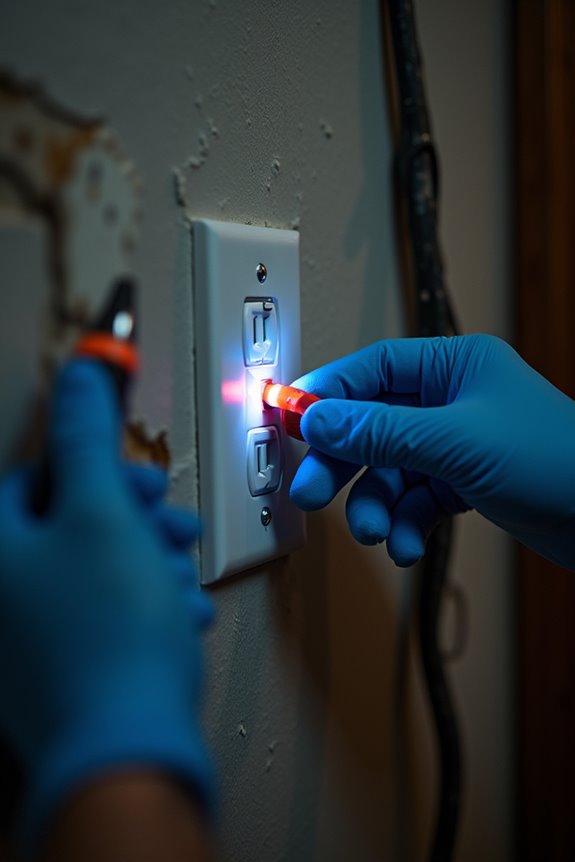
Why’s your outlet dead when everything else works fine? The answer’s likely in your electrical panel—that’s where your circuit breaker lives!
Your breaker protects your home by cutting power when something goes wrong. When it trips, it stops too much electricity from flowing through that circuit. You’ll spot a tripped breaker by looking for a switch that’s either in the OFF position or stuck between ON and OFF.
Here’s the fix: flip that switch fully to OFF, then back to ON. Power restored!
After resetting, test your outlets and lights to confirm they’re working again. If your breaker keeps tripping repeatedly, though, that’s your signal to call a licensed electrician. Something deeper needs professional attention.
Reset a Tripped GFCI Outlet
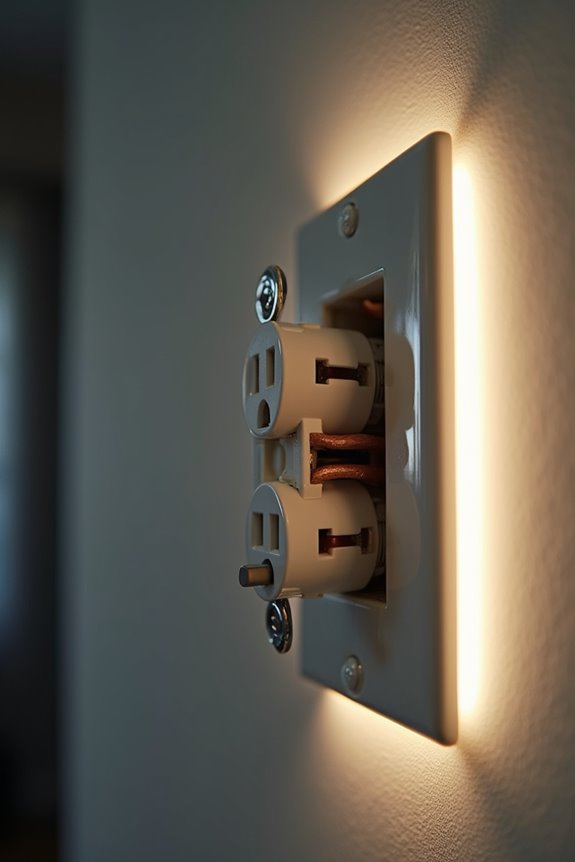
But wait—a tripped GFCI affects downstream outlets too, so resetting one device can restore power to multiple outlets on that circuit.
If pressing Reset doesn’t work, you have a bigger issue. A faulty outlet or downstream wiring problem needs professional help.
Frequent trips? That’s your sign to call a licensed electrician right away!
Look for a Wall Switch Controlling Your Outlet
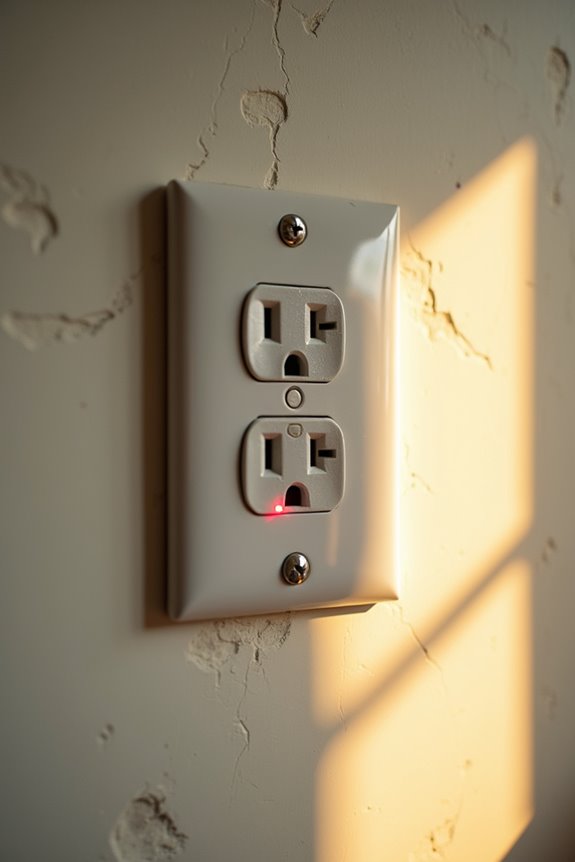
Before you assume your outlet’s completely broken, check if a wall switch is controlling it—this is a common cause! Look around your outlet for a nearby switch, flip it on and off, and see if power returns to your outlet. If the switch brings your outlet back to life, you’ve found your problem, and you can stop troubleshooting right there!
Identifying The Control Switch
Have you checked whether a wall switch is controlling your outlet? This is a common issue that’s easy to overlook.
Here’s how to identify the control switch:
- Look around the room – Find any wall switch near your dead outlet
- Flip the switch off and on – Watch if power returns to your outlet
- Test with a lamp or tester – Confirm the outlet regains power when switched on
Many switched outlets power lamps without requiring you to unplug them. If your outlet only works in one switch position, you might have a miswired outlet that needs attention. When the outlet stays dead despite toggling the switch, investigate further or call a professional. Finding the control switch is often the quickest solution.
Testing Switch-Controlled Outlets
| Step | Action | Result | Next Move |
|---|---|---|---|
| 1 | Locate nearby wall switch | Found it? | Proceed to step 2 |
| 2 | Flip switch ON | Power returns? | Success! |
| 3 | Flip switch OFF | Power dies? | It’s switched |
| 4 | Toggle repeatedly | Still dead? | Check connections |
Test your theory by flipping that wall switch on and off. When power returns with the switch on, you’ve discovered a switched outlet! This knowledge helps you understand your outlet’s behavior. If toggling doesn’t restore power, inspect wiring connections carefully. Still stuck? Call an electrician.
Identify Loose or Burnt Wiring
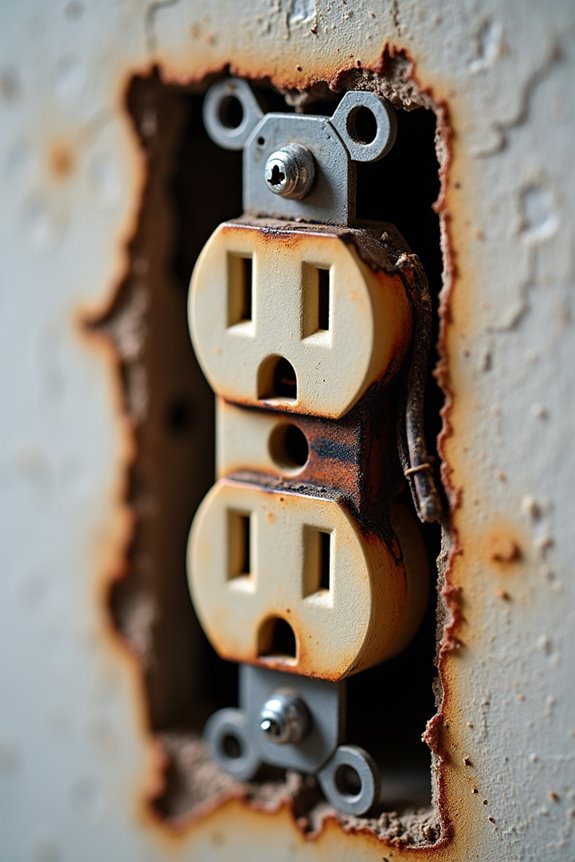
Wiring problems can turn a dead outlet into a serious safety hazard. You’ll want to spot trouble before it becomes dangerous.
Here’s what to look for:
- Discoloration or scorch marks around the outlet or wires
- Loose terminal screws that wiggle when gently touched
- Burning smell coming from the wall
Don’t touch live wires! Always flip off the circuit breaker first. Loose wiring interrupts power delivery, causing intermittent outages or complete failures. Burnt wiring indicates aging insulation and fire risk—something that requires immediate attention.
You might notice flickering lights or outlets that work only sometimes. These signs suggest loose connections inside stab-in terminals that have loosened over time.
Here’s your next move: Call a licensed electrician immediately. They’ll inspect everything safely and fix connections properly. Your home depends on having outlets that work reliably and safely.
Spot Signs of an Aging Outlet
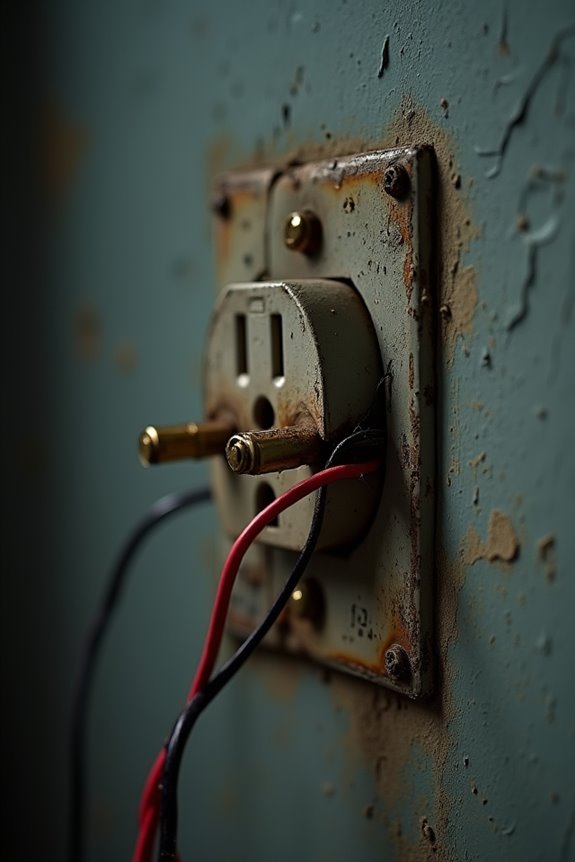
If your outlet’s been around for 15–25 years or longer, it’s probably showing its age. You might notice the plug doesn’t fit as snugly as it used to, or the outlet feels warm to the touch—both signs that degraded metal contacts are wearing down. When you spot these age-related warning signs, it’s time to consider replacing that outlet and bringing your electrical system up to current safety standards.
Age-Related Outlet Deterioration
Aging outlets develop problems over 15 to 25 years. After that, degraded contacts become real trouble. Here’s what happens:
- Metal contacts wear down, causing loose or noisy connections
- Overheating occurs, creating discoloration or warm sensations
- Flickering lights and sudden outages plague your circuits
Degraded contacts are sneaky culprits! You might notice your plug falls out easily or sparks occasionally. Pay attention to these warning signs—they indicate your electrical system needs attention.
The good news? Upgrading aging outlets restores safety and reliability. You’ll have confidence knowing your electrical system works properly again.
Replacement Indicators And Timeline
When should you replace your outlets? Most outlets last 15 to 25 years before they start failing you. If your outlets feel loose or warm to the touch, that’s your signal to act! You’ll notice aging outlets cause intermittent power or complete blackouts. Does your plug keep falling out? That’s degraded metal contacts talking!
Watch for these replacement indicators: frequent outages in multiple rooms, discolored outlets, or sparking sounds. These signs mean your electrical system needs attention now, not later.
The replacement timeline is simple: if your home’s older than 20 years, inspect outlets carefully. Don’t wait for failure! Upgrading aging outlets protects your family and improves safety. Call a professional electrician today and upgrade those worn-out receptacles!
Remove Devices to Test for Overload
Could a power-hungry device be the real troublemaker? Let’s find out with overload testing!
Start your outlet troubleshooting by unplugging all devices and power strips from that problem area. You’re giving your circuit a reset. Here’s what to do next:
- Test the outlet with a simple lamp or outlet tester
- Monitor closely for power returning to the socket
- Reconnect devices one at a time while watching carefully
If power suddenly returns, congratulations! You’ve identified an overload issue. Now reconnect your unplugged devices individually, watching for tripping or overheating signs. When something acts weird, you’ve found your culprit!
However, if the outlet still fails after removing everything, the problem isn’t overload—it’s likely faulty wiring or a broken outlet itself. You’re narrowing down the real issue like a pro!
Call an Electrician If Problems Persist
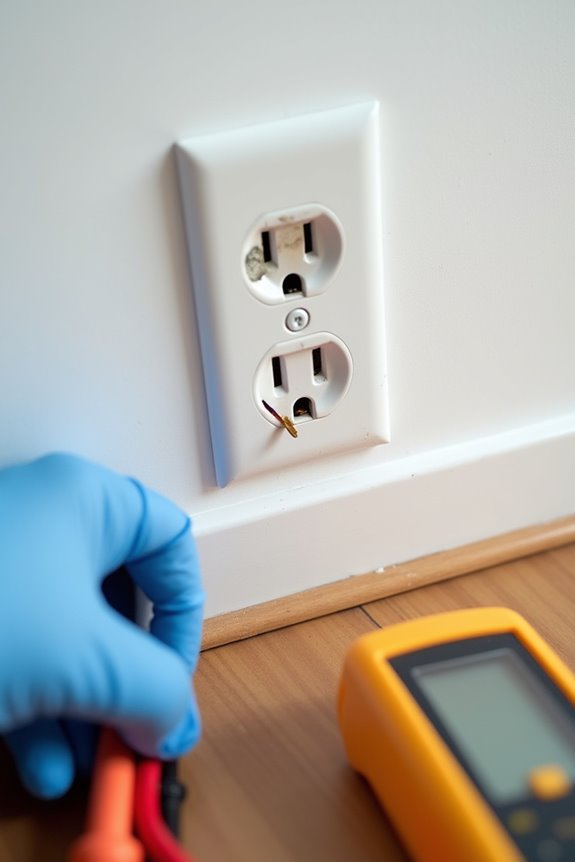
You’ve done the detective work—unplugging devices, testing outlets, and checking for overloads. If your outlet still won’t work, it’s time to call an electrician. You’re not giving up; you’re being smart!
Licensed electricians spot what you can’t see. They identify unsafe wiring, hidden faults, and problems upstream in your electrical system. If you’re dealing with repeated tripping or prolonged outages, you likely have an overloaded circuit or aging wiring that needs professional repair.
Here’s what they’ll do: perform comprehensive testing, trace circuits, and verify grounding and GFCI outlet protection. They might recommend upgrading your panel, adding dedicated circuits, or replacing wiring entirely.
Don’t let recurring outlet failures frustrate you anymore. A professional keeps your home safe while fixing the real problem. That’s the protection you need!