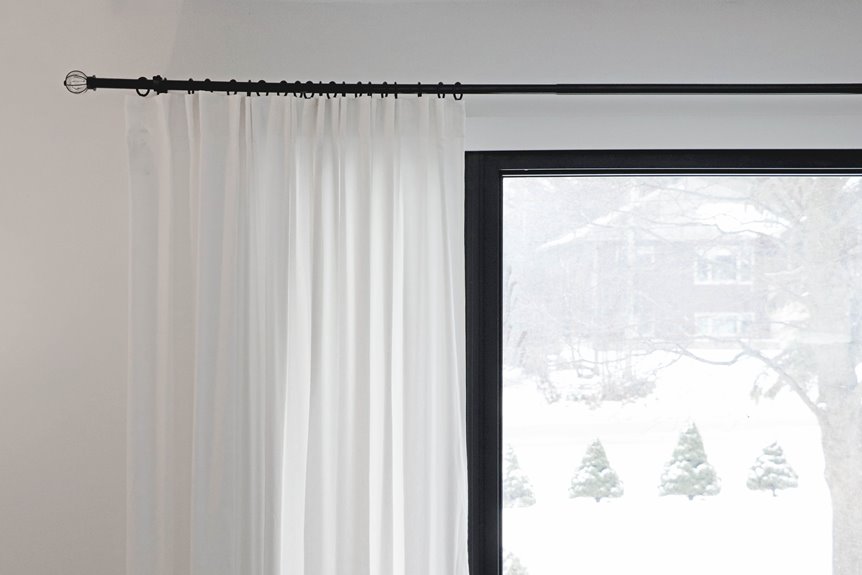
Curtain hooks thread through ring eye holes to anchor your fabric folds securely.
You insert the straight pin upward along the pleat seam, then push it through the ring’s bottom opening.
This creates neat, uniform folds that hide sagging and deliver a quality finish—better than clips.
Space your hooks by folding the drape flat repeatedly for even distribution.
Most single-width panels need seven to ten hooks.
Proper spacing prevents visible drooping and keeps your curtains looking polished.
Want to master the specific techniques for flawless installation?
Choose Drapery Hooks Over Clips for a Cleaner Finish
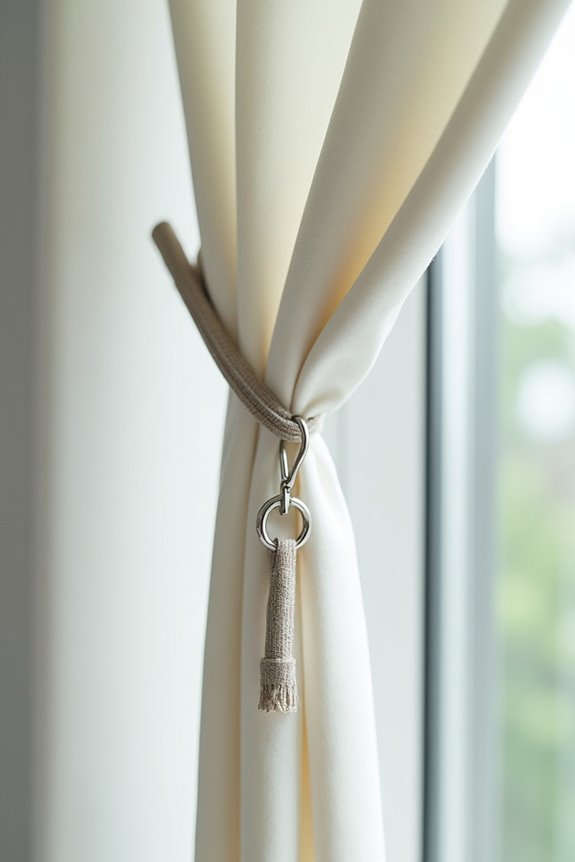
Hooks attach through eye holes on drapery rings, folding fabric between rings to hide sagging. The result is a polished appearance with thoughtful design details.
Clips rely on aligning with tab positions and tend to look haphazard. Hooks work with various curtain styles and provide a uniform appearance worth displaying.
Hooks offer a designer-quality finish. Your windows will benefit from this choice.
Know Your Hook Parts: Straight Pin and Ring
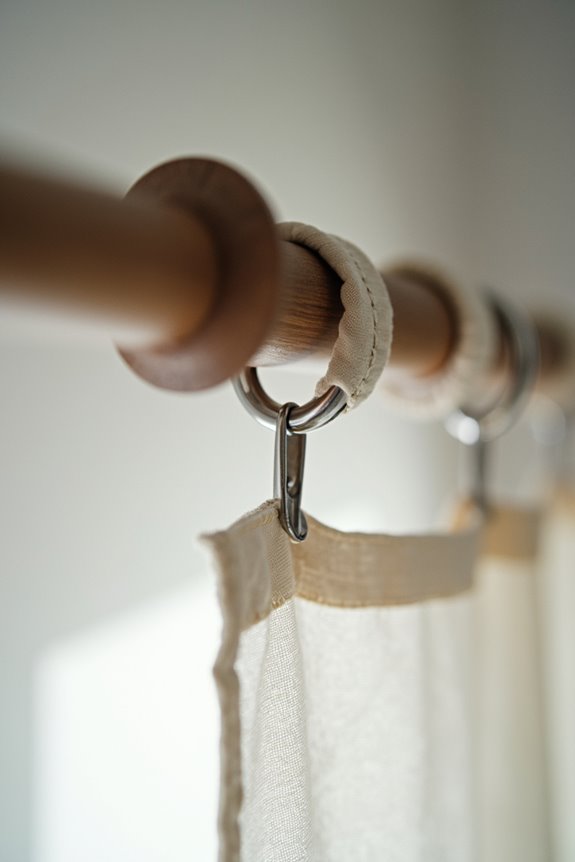
Understanding your curtain hook’s two essential parts makes installation easier and more successful! Your hook has two main components working together as a team.
The straight pin is your hook’s anchor. You’ll position this part upward along your pleat seam for stability. It threads through the eye hole on your drapery ring’s bottom, keeping everything secure and balanced.
The curved pin does the heavy lifting! This part slides into your traverse rod’s mechanism, moving smoothly as you open and close your curtains. Think of it as your hook’s connection point to the rod itself.
Here’s the winning combo: the straight pin holds your fabric steady while the curved pin lets your curtains glide smoothly. Together, they prevent sagging and create that polished look you’re after. Ready to master the installation process?
Insert Hooks About a Quarter Inch Below the Curtain Top
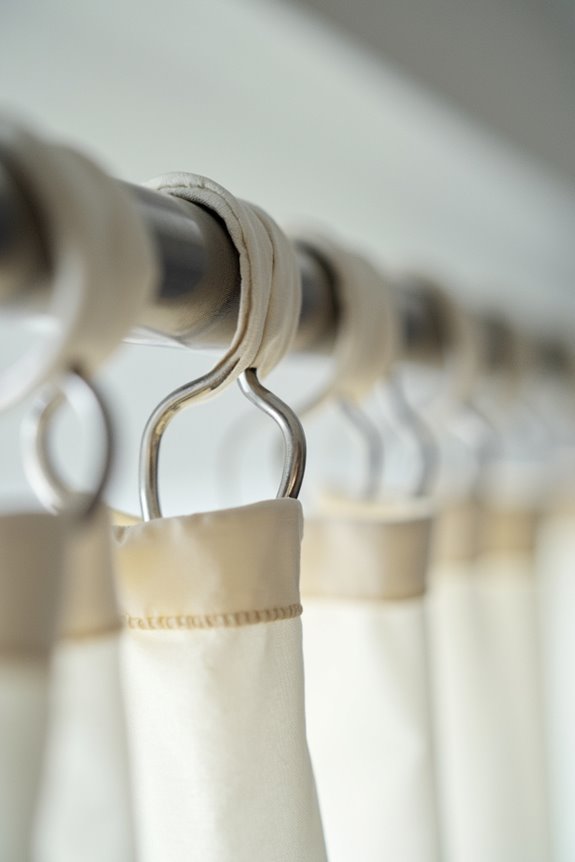
You’ll want to insert your hooks about a quarter inch to an inch below the curtain’s top edge—this measurement keeps them hidden from view! This placement creates a weight distribution balance that prevents sagging and keeps your curtain hanging in a smooth, professional line. By positioning your hooks this way, you achieve discreet hook positioning that makes your window treatment look polished and intentional.
Precise Depth Measurement
Why does this matter? When you place hooks too high, fabric bunches awkwardly near the pleats. Too low, and your curtains sag disappointingly. Nobody wants that!
Here’s your action plan: Use a ruler or measuring tape. Mark that quarter-inch point lightly with a pencil. Then insert your hooks at this consistent depth across the entire curtain width.
This precision keeps your window treatment looking polished and professional. Your curtains will hang beautifully, aligned perfectly with your rod.
Weight Distribution Balance
Position hooks a quarter inch to an inch below the top to transfer weight more effectively. This placement works with your ring positions, keeping everything looking crisp and polished. Your drapes will hang straighter without those frustrating dips between rings.
For consistent hook spacing, fold your curtain flat from end to middle, place a hook, then repeat across the width. This folding technique creates uniform positioning. With 7–10 hooks per panel, you’ll have adequate support and a professional appearance.
Discreet Hook Positioning
- Fold your drape flat, then fold it in half to find the center
- Insert your first hook at the center point
- Repeat the folding and hook placement across the entire width
This technique keeps your fabric sitting neatly behind each ring, creating beautiful vertical folds. You’ll avoid those frustrating visible sags between rings that detract from your curtains. The discreet placement directs attention to the curtain itself rather than the hardware. Strategic hook placement improves the appearance of your drapes. Ready to tackle your windows?
Space Hooks by Folding Your Drape Flat
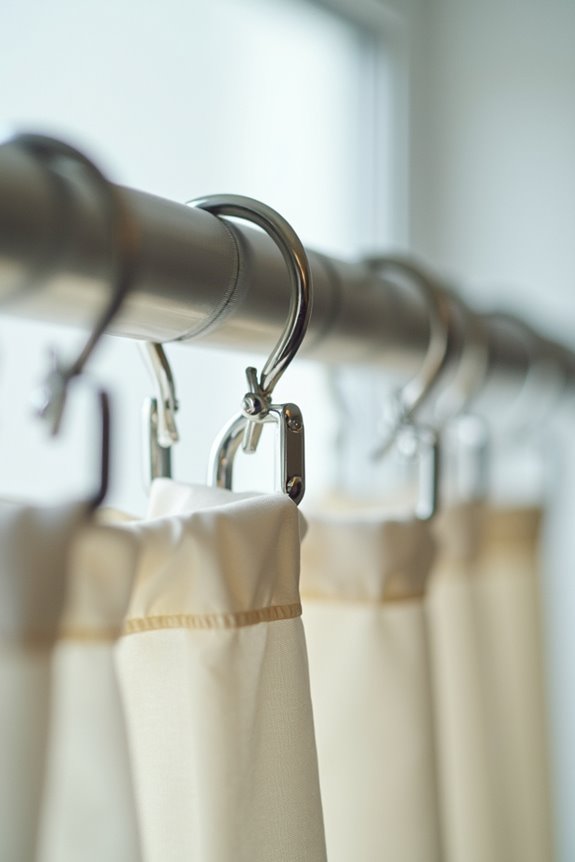
You’ll want to fold your drape flat in half to find the perfect spacing spots for your hooks! Place one hook at the folded edge, then keep repeating this simple method along the entire length of your curtain. This clever folding trick helps you get even hook distribution every single time, and your curtains will hang nicely without any frustrating sags or lumpy spots!
Folding Method for Spacing
Want an easy way to space your curtain hooks perfectly? This simple folding method works well.
Here’s how to do it:
- Lay your drape completely flat on a clean surface
- Place your first hook at one end, then fold the fabric in half
- Position the next hook at the fold, then keep folding and hooking
This technique removes all the guesswork! By folding as you go, you’re automatically spacing hooks evenly. No measuring tape needed. No complicated math required.
Start at one end with your first hook. Fold that fabric section in half and add another hook. Keep repeating this simple pattern along your curtain’s entire length. You’ll achieve perfectly balanced spacing every single time. This method helps weight distribute evenly, preventing sags between hooks. Your curtains will hang well and look professional. Give it a try.
Achieving Even Hook Distribution
Once you’ve mastered the folding method, you’re ready to focus on the bigger picture: achieving even spacing of your hooks across the entire curtain. Uneven distribution creates frustrating sags between rings that detract from your room’s appearance.
Here’s your approach: fold your drape flat, then divide it in half repeatedly. Place a hook at each fold point. This simple technique provides balanced spacing without guesswork.
For a standard panel, you’ll typically need 7–10 hooks. Longer curtains or heavier fabrics require more hooks to maintain adequate support. Unpleated panels, which are wider, often need additional hooks compared to pleated single-width panels.
Align each hook with your ring layout. This keeps everything looking deliberate and polished when your curtains are drawn.
Why Even Spacing Prevents Visible Sagging
Have you ever noticed how curtains sometimes droop awkwardly between their rings? Even spacing prevents that annoying sag and keeps your curtains looking polished.
When you space hooks evenly across your panel, you’re distributing weight like a team effort—everyone pulls their share! Here’s why this matters:
- Weight distribution spreads the fabric load so no single hook bears too much stress
- Fabric folding tucks neatly between rings, hiding gaps and maintaining a flush appearance
- Visual straight lines create a neat, intentional appearance at your window
You’ll achieve this by folding your drape flat, then placing hooks at consistent intervals. A typical single-width panel needs about seven hooks. More rings? Add extra hooks! This simple technique means your curtains will hang beautifully for years.
Attach Each Hook Through the Ring’s Eye Hole
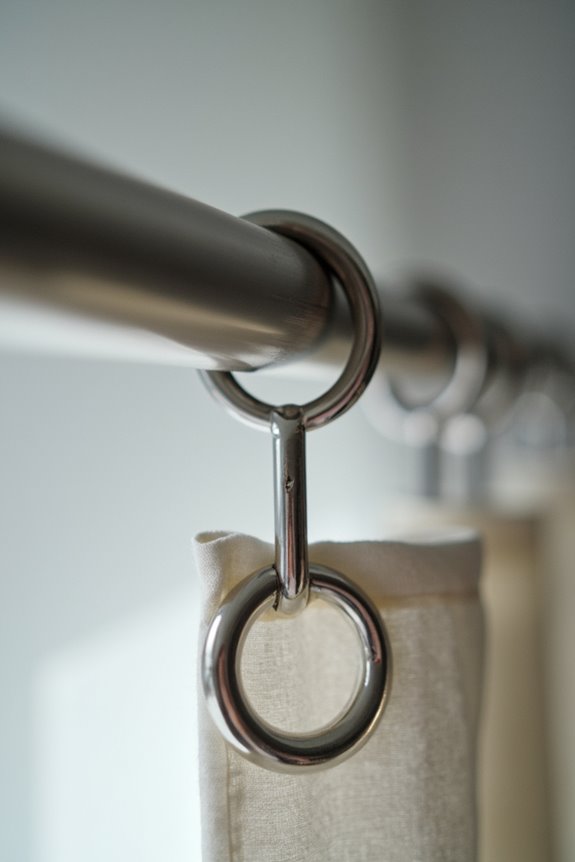
Now you’re ready to thread each hook through the ring’s eye hole—this is where everything comes together! You’ll want to push the hook straight up through that small opening at the bottom of each ring, making sure it’s fully inserted so the weight distributes evenly across all your rings. Once every hook is secured, you’ll gently push the fabric between each ring toward the back to create those crisp, professional-looking folds for your curtains.
Threading Hooks Through Rings
Here’s where your curtain project really comes together—it’s time to attach those hooks!
Threading hooks through rings is simpler than you’d think. You’ll insert each drapery hook through the eye hole on the bottom of the drapery ring. It’s that straightforward!
Here’s what makes this step successful:
- Insert hooks at an angle for easier threading through tight eye holes
- Check that each hook sits securely before moving to the next ring
- Space hooks evenly by folding your drape flat, then placing hooks at consistent intervals
After threading all your hooks, you’ll create a professional look! Push the fabric between each ring toward the back. This forms those beautiful, neat folds that work well with any décor. You’re almost done—just a few finishing touches remain!
Securing Weight Distribution Properly
fold your drape flat, place a hook at the end, then fold it in half and add another hook. Keep repeating this pattern! This simple technique spreads weight evenly across all your rings.
More rings mean you’ll need more hooks to prevent drooping. Think of it like this: more support points equal smoother, straighter drapes.
After inserting each hook through the ring’s eye hole, push the fabric between rings toward the wall. This creates crisp, clean folds that look professionally hung.
Creating Neat Fabric Folds
With your weight properly distributed across multiple rings, you’re ready to make those drapes look great!
Now comes the fun part—creating those gorgeous fabric folds that make your curtains shine. Here’s your approach:
- Insert each hook through the eye hole at the bottom of your drapery ring
- Fold your drape flat and place one hook, then repeat along the entire length
- Position hooks about a quarter inch to an inch below the curtain’s top edge
Want perfectly even folds? Space your hooks by folding the fabric in half repeatedly. This technique keeps everything balanced and professional-looking. After inserting all hooks, gently push the fabric between rings toward the back. Watch those beautiful, uniform folds appear! You’ve just created curtains that look polished and well-made. Your windows will look better!
Create Neat Folds Between Rings With Fabric
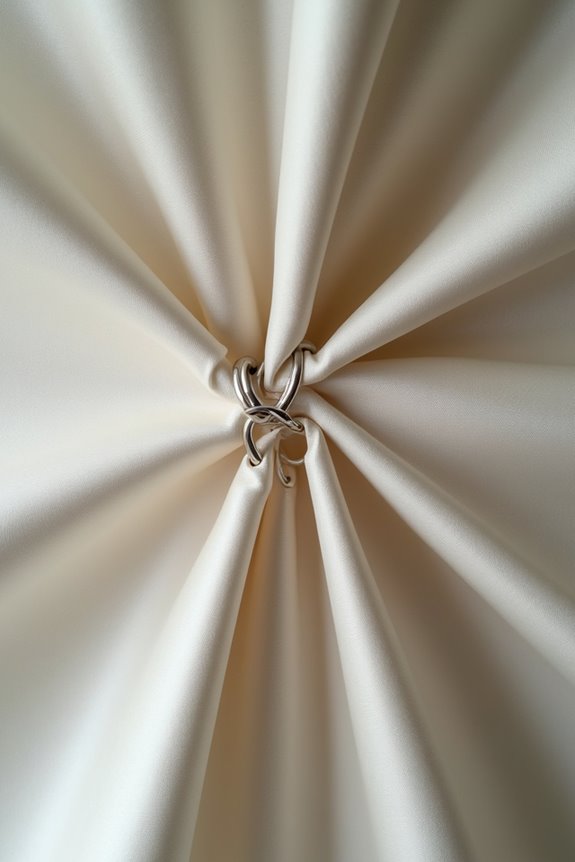
Ever wondered why some curtains look professionally hung while others just… sag?
The secret’s in pushing fabric back between each ring. After you insert your hooks, gently fold the fabric backward to create intentional pleats rather than letting it droop loosely.
Here’s how you do it: Space your hooks evenly across the panel—typically 7–10 hooks work great for standard curtains. Then, starting from one end, fold your drape in half and place a hook. Keep folding and hooking across the panel methodically.
This technique distributes weight perfectly! Those neat folds you’re creating aren’t accidents—they’re your path to that polished, designer look.
Ready to hang your curtains properly? Push that fabric back confidently. It works.
How Many Drapery Hooks Do You Need?
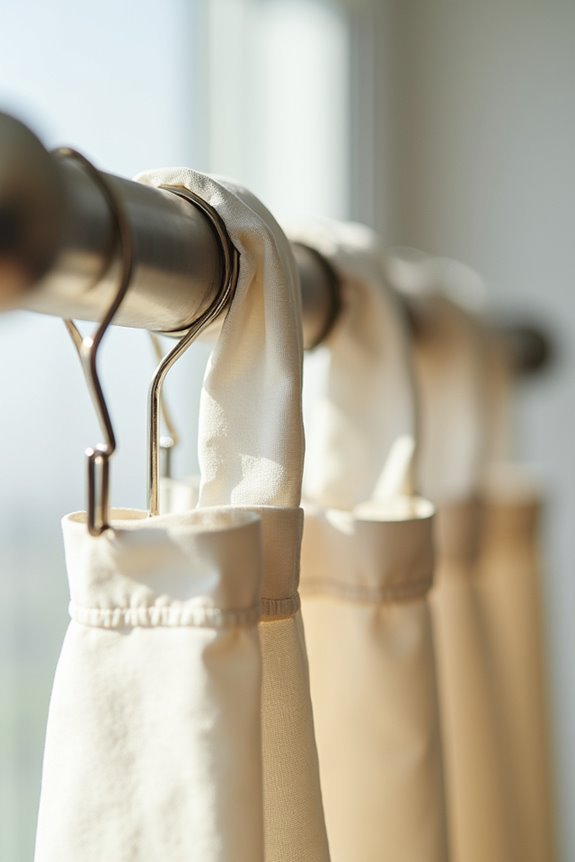
Most single-width panels work great with 7 to 10 hooks total. Here’s what you should know:
Most single-width panels work best with 7 to 10 hooks total for optimal support and appearance.
- Pleated panels need fewer hooks—about 7 will do the job perfectly
- Unpleated panels require more hooks to prevent that annoying sag between rings
- Even spacing matters—distribute hooks across your panel’s full width for balanced support
The key is spacing them strategically. You’ll want enough hooks to support the weight while keeping those neat folds you just created looking sharp. Too few hooks and you’ll see drooping fabric. Too many and you’ll waste time installing them.
Start with 7 hooks on pleated styles, then add more if needed for wider, unpleated panels.
Adjust the Last Hook for Perpendicular Wall Alignment
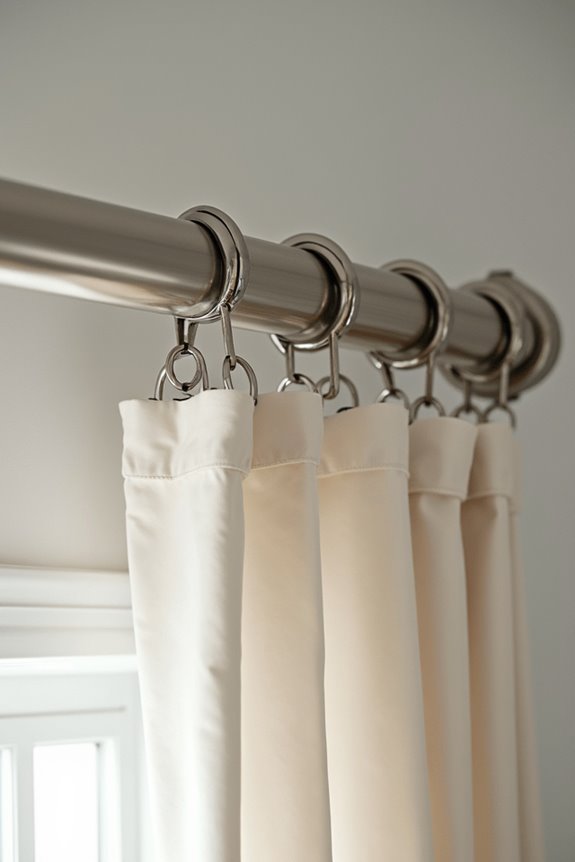
You’ll want to position that last hook carefully so your fabric sits perfectly flat against the wall! By adjusting the final hook’s placement, you’re creating a perpendicular alignment that keeps everything balanced and looking sharp. This simple adjustment reduces annoying sag at the edges and gives your curtains a polished, professional appearance.
Last Hook Edge Positioning
Why does that last hook matter so much? You’re so close to perfect drapes—don’t let them slant now!
The final hook edge positioning determines whether your curtains hang beautifully or awkwardly. Here’s what you need to know:
- Adjust the hook angle to create a vertical line against your wall when curtains close
- Hang the last ring directly on the bracket for daily opening and closing situations
- Minimize visible sag between rings by positioning that final hook precisely
You’ll choose your method based on your window coverage and how often you open those drapes. Want them stationary? Adjust the hook edge. Opening daily? Use the ring-on-bracket approach instead!
Either way, you’re creating that neat, aligned appearance that comes from proper installation. Your curtains will look professionally hung, and you’ll have the satisfaction of getting every detail right!
Wall Alignment Techniques
Have you noticed how curtains sometimes lean away from the wall instead of hanging straight?
You can fix this! Adjust your last hook’s position to create a perfect 90-degree angle with the wall. Shift the final hook edge slightly so your fabric sits evenly against the wall when closed. This simple move reduces that annoying sag between rings.
Here’s your action plan: Space your hooks and rings carefully so the last hook aligns naturally without pulling fabric away. If you open and close your curtains daily, try hanging the final ring directly on the bracket. This technique works well!
When you have many rings, distribute weight evenly across all hooks. This compensates for any slight misalignment and keeps everything flat along your window frame. Your properly aligned curtains are within reach!
Adapt Hooks to Pleated, Unpleated, and Tab-Top Styles
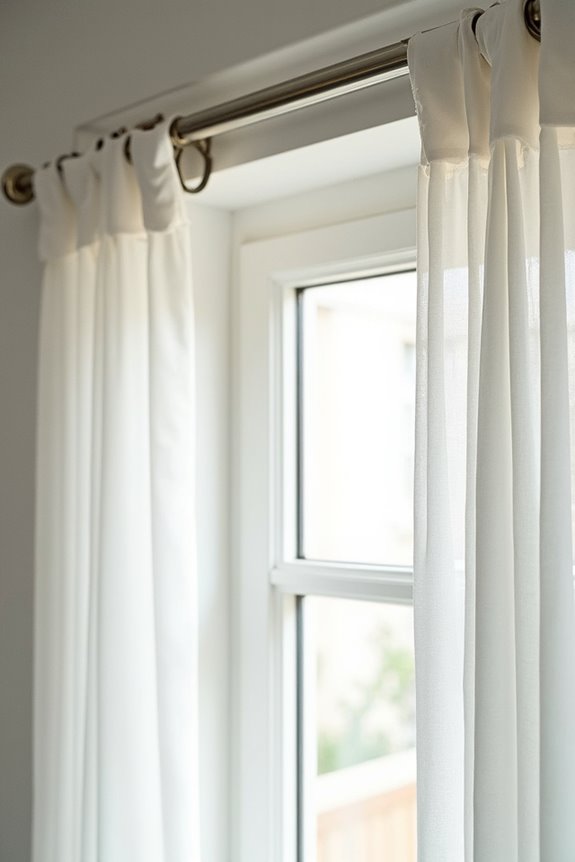
Different curtain styles need different hook strategies—and that’s actually practical!
You’re joining a community of people who’ve mastered this skill. Here’s what you need to know:
- Pleated panels use about 7 hooks per width because pleats naturally hold fabric structure
- Unpleated panels need more hooks since they’re wider and sag easier without built-in support
- Tab-top styles require hooks positioned directly under tabs and internal seams for invisible placement
The key? Match your hook count to your fabric’s needs. Pleated curtains forgive spacing mistakes. Unpleated ones demand careful distribution. Tab-top panels benefit from strategic alignment.
Fold your drapes flat, then place hooks methodically. Even distribution prevents sagging and creates professional-looking folds that work well every time you draw your curtains.
Troubleshoot Sagging: Add Hooks or Tighten Spacing
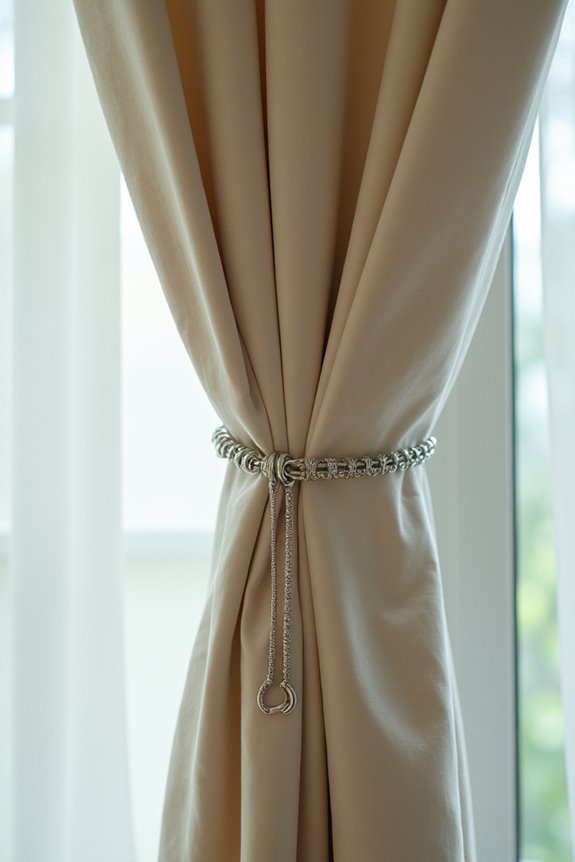
When your curtains start drooping between the rings, it’s time to take action! You’ll want to add more hooks or adjust their spacing to fix that sagging.
| Problem | Solution | Result |
|---|---|---|
| Visible sagging | Add extra hooks | Better weight support |
| Uneven draping | Tighten hook spacing | Smoother appearance |
| Heavy fabrics | Increase hook count | Prevents localized sag |
Here’s what to do: fold your drape flat, place hooks at even intervals, and insert them about a quarter inch below the top. This distributes weight properly. For heavier drapes, you’ll need roughly seven hooks per panel minimum.
After hooking, push fabric between each ring backward. This creates neat folds and reduces visible sag. Your curtains will look professionally hung.
Why More Rings Often Require More Hooks
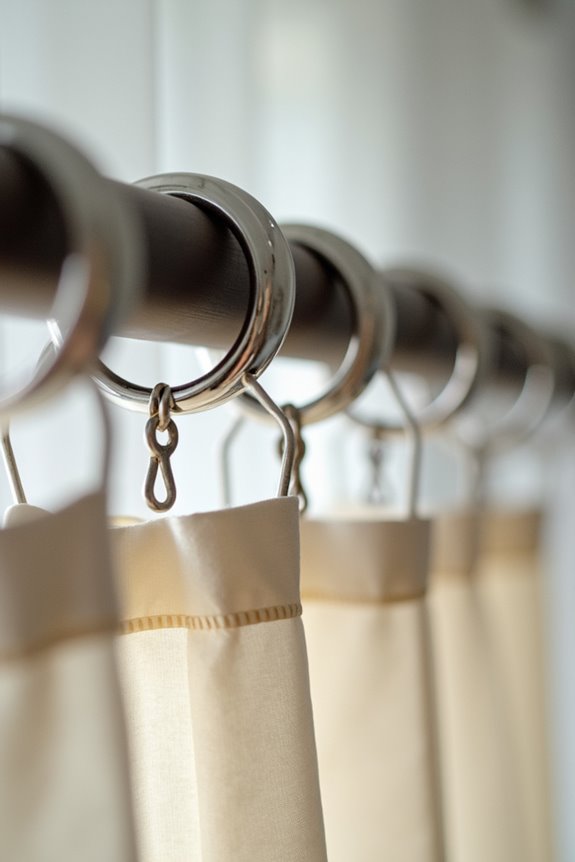
Why does adding more rings to your curtain rod seem to create more problems instead of solving them? You’re not alone in noticing this! When you install extra rings without matching hooks, your curtains sag between each ring. Here’s what you need to know:
- More rings need more hooks to prevent visible drops in fabric
- Weight distribution improves when hooks match your ring spacing
- Professional panels use about 7 hooks for balanced support
Think of it this way: each ring needs backup! Without enough hooks supporting the weight across all rings, gravity wins. You’ll see those frustrating sagging pockets that ruin your look. The solution? Match your hooks to your rings. This keeps your drapes hanging beautifully and evenly, giving you the polished appearance you’re after!
Install Hooks on Clip-Ring Hybrids Using the Smaller Loop
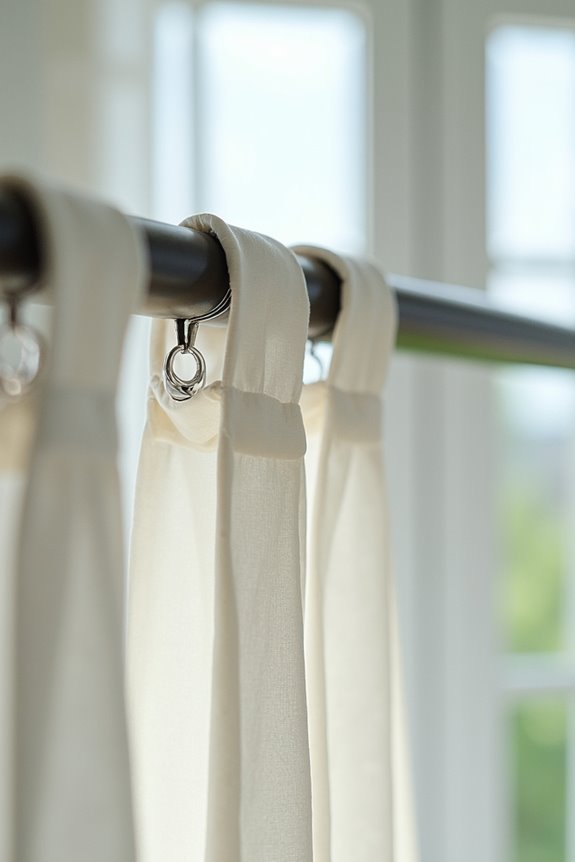
Now that you’ve matched the right number of hooks to your rings, it’s time to install clip-ring hybrids—those practical combos that blend clips with hanging loops. These devices let you customize your curtain setup.
Here’s your installation roadmap:
| Step | Action |
|---|---|
| 1 | Remove the clips from the ring |
| 2 | Locate the smaller loop hanging down |
| 3 | Slide the straight pin upward |
| 4 | Align pin along the internal pleat seam |
| 5 | Hang pin into the smaller loop securely |
Can’t remove a stubborn clip? No problem! Visit your local hardware store and grab a replacement smaller ring loop. Space the clips evenly across all positions for a polished, professional appearance. Your curtains will hang beautifully.
Final Check: Weight Distribution and Visual Balance
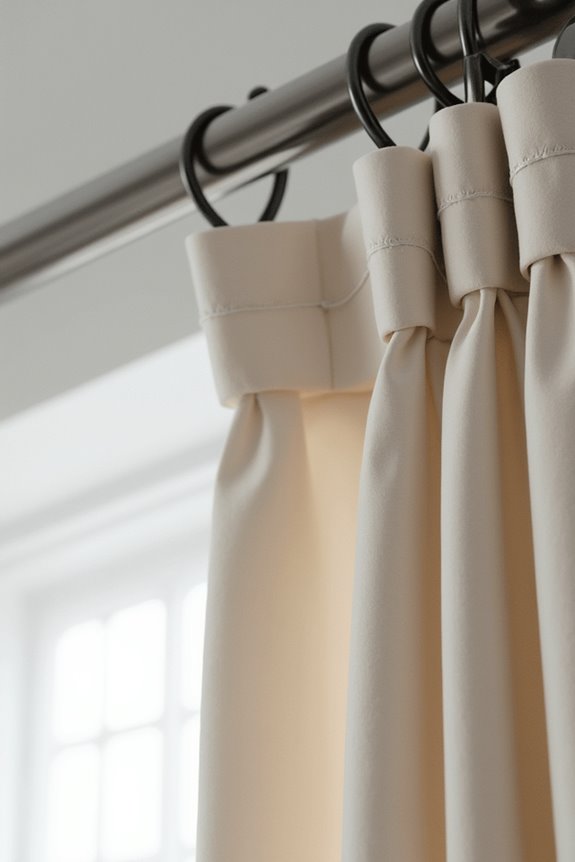
How’s your curtain hanging looking so far?
You’re almost there! Now it’s time to check that everything looks balanced and professional. Step back and examine your work carefully.
You’re almost there! Step back and examine your work carefully to ensure everything looks balanced and professional.
Here’s what you should verify:
- Even weight distribution across all hooks prevents visible sagging between rings
- Uniform fold spacing creates that polished, designer appearance you’re going for
- Fabric pushed toward the back maintains perpendicular alignment with your wall
Push the fabric between rings toward the back to form crisp, even folds. Does the drape fall smoothly without lumps or gaps? Adjust hook placement if you spot uneven areas. For single-width pinch-pleat panels, about seven hooks typically does the trick!
Your curtains should now hang beautifully with professional-looking weight distribution and visual balance!