
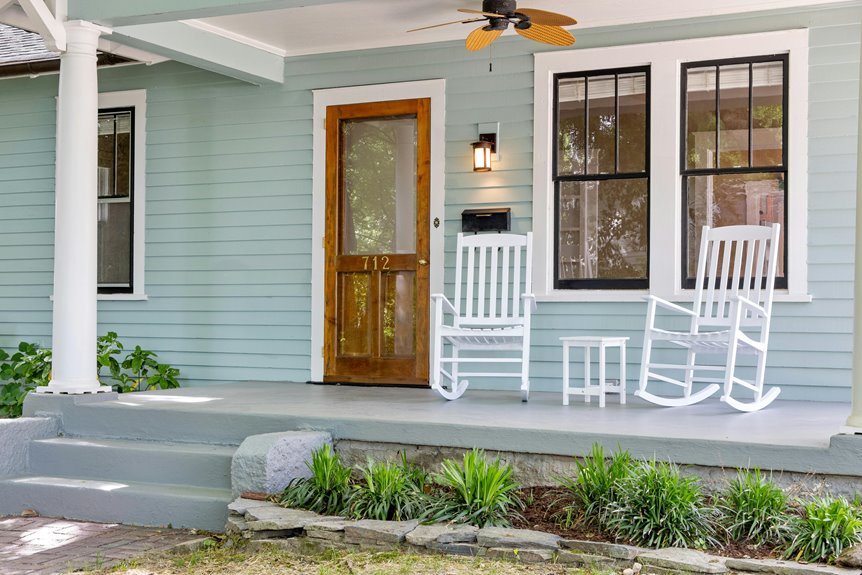
Your porch isn’t supposed to be flat—it should slope gently away from your house! Builders designed this intentional tilt to shed water and protect your foundation from rot. You’re looking for about 1/4 to 1/2 inch drop over 6–8 feet, with the highest point at your door. Run your hand across the floor: a consistent slope means good design, while weird dips suggest settling trouble. Proper drainage keeps your porch standing strong for decades. Want to discover whether your slope is original or a problem?
Intentional Slope vs. Structural Settlement: How to Tell Them Apart

Why is your front porch tilted? You’re probably wondering if that slope is normal or problematic. There’s a clear way to tell the difference.
Intentional slope means builders designed water shedding into your porch. You’ll notice consistent tilting across the entire floor moving away from your door. That’s purposeful.
Structural settlement is different. You’ll spot localized dips near support posts or beams. Doors won’t close properly, and gaps appear at the ledger. This porch slope mismatch signals trouble.
The key? Check for consistency. Run your hand along the floor. Consistent slope? Likely intentional. Weird dips and cracks? That’s structural settlement talking.
Want certainty? Grab a professional. They’ll measure against your original doorway clearance and inspect support members for rot.
Should You Level Your Porch or Keep the Original Slope?
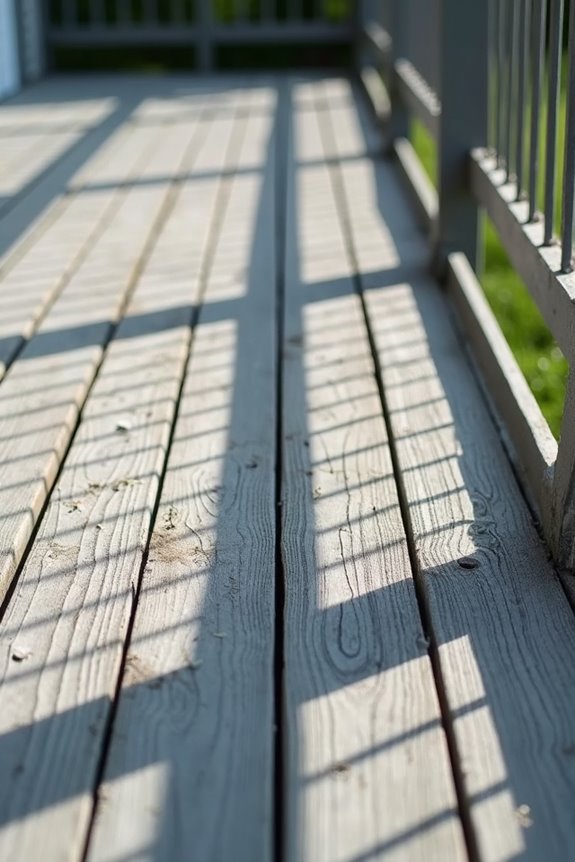
| Factor | Level Porch | Sloped Porch |
|---|---|---|
| Door Operation | Easy access | May jam or stick |
| Moisture Drainage | Modern systems | Historic drainage |
| Rot Risk | Lower | Higher if neglected |
| Living Space | Expands easily | Limited options |
| Preservation | Less authentic | Historically accurate |
Here’s the deal: if rot’s eating your posts, you’ll want leveling done. Decayed wood can’t support weight properly, and that creates safety issues. But if your porch slope is original and your framing’s solid? You might preserve it! That intentional slant keeps water moving away from your door and interior.
The key: inspect your supporting members first. Check for moisture damage underneath. Then decide based on what you find.
Historical Porch Design: Why Builders Added Slope for Drainage

Old-time builders weren’t being careless when they sloped porches—they were solving a real problem! When you understand the difference between intentional drainage design and problematic settlement, you can make smarter choices about your own porch. Learn how these builders used slope, gutters, and grading to keep water moving away from your home instead of pooling where it causes rot and damage.
Water Runoff and Weatherization
How’d old-time builders solve one of a porch’s biggest enemies—water damage? They built sloped floors!
You see, a gentle slope directed rainwater away from your house, protecting the structure underneath. This simple drainage solution prevented standing water that’d rot wood and weaken framing. Builders understood that weatherization meant stopping moisture before it caused serious problems.
| Feature | Purpose | Benefit |
|---|---|---|
| Floor slope | Directs water runoff | Prevents pooling |
| Drainage gaps | Channels water away | Reduces rot risk |
| Sealed roofing | Blocks moisture entry | Protects framing |
You’d combine the slope with drainage gaps or scuppers for maximum protection. Smart builders sealed everything tightly, creating barriers against the elements. This approach kept porches standing strong for decades! Today, understanding these techniques helps you appreciate and maintain historic porch design.
Intentional Slope Versus Settlement
Check if the slope looks uniform across the whole structure. Examine whether joists and beams still align properly despite the tilt. Look for consistent material aging patterns too.
When you’re investigating a sloped porch, ask yourself: Are the support posts evenly worn? Does water actually run off effectively? These clues reveal whether you’re looking at settlement vs. design. Understanding this difference helps you preserve—or fix—your porch appropriately.
Drainage Design in Historic Homes
You’re looking at clever engineering here! Carpenters adjusted joists and foundation supports to maintain these protective angles. The slope stayed gentle enough that doors still closed smoothly and screens still fit properly.
Standard Slope for Water Drainage: Measurements and Tolerances
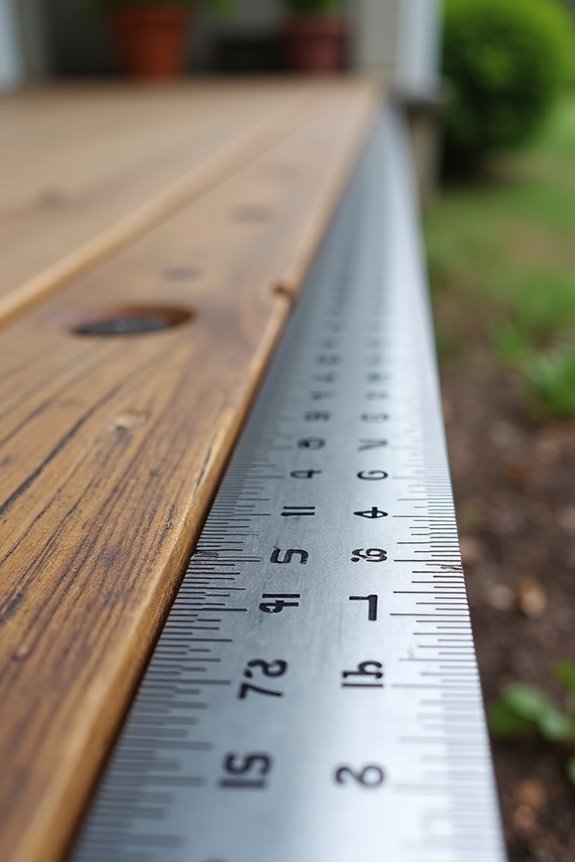
Why do some front porches shed water like a duck’s back while others collect puddles? The answer lies in slope—that intentional tilt you’ll find on well-designed porches.
You’re looking at gentle slopes, typically around 1/4 inch to 1/2 inch of drop over 6 to 8 feet. That’s barely noticeable to your eye, yet effective! The tolerance matters here. Your porch’s highest point sits right at the door threshold, sloping downward away from your house.
This careful drainage design prevents water from pooling near your doorway. You won’t see standing water or damage after rainstorms. Builders understood that slight angles protect homes without making doors swing awkwardly.
Want your porch working properly? Check whether water flows away from your entrance. If puddles persist, you’ve found your problem!
Diagnosing Hidden Rot and Framing Damage in Slanted Porches
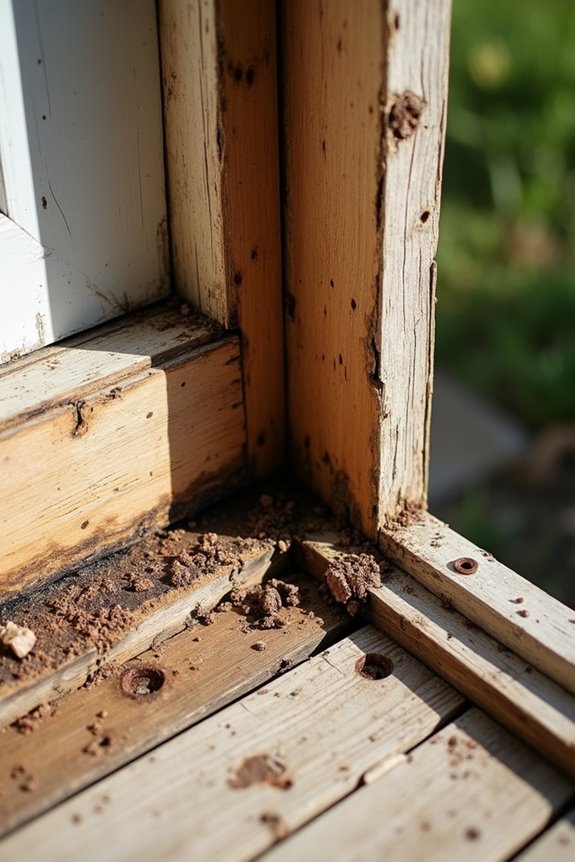
When you’ve spotted that telltale slant in your porch, hidden rot might be lurking where you can’t see it—especially in the support posts and beams underneath! You’ll need to inspect these framing members carefully, because damaged wood often hides until you lift the structure with hydraulic jacks and get a closer look. Once you’re ready to tackle the repair, you can remove the rotted posts, install fresh treated lumber, and relevel everything before lowering it back down.
Identifying Rot In Framing
How’d that porch end up tilted in the first place? You’re likely dealing with porch rot hiding in your support posts. Here’s what to look for: soft, crumbly wood around your framing rot zones indicates trouble. Check for dark staining near support posts—that’s moisture damage. Run your finger along joists; if they crumble easily, rot is present. Examine crumbling joists anywhere on your porch. You’ll also spot soft spots that feel squishy under pressure. Peek underneath at ledger boards and brackets too. These hidden culprits often conceal moisture damage you can’t see from above. Grab a flashlight and inspect everything thoroughly. Early detection prevents expensive structural repairs later. Start investigating today.
Structural Assessment And Lifting
Once you’ve spotted the rot, here comes the detective work: structural assessment. You’ll need to evaluate the damage before attempting any repairs. Here’s your action plan:
- Check framing near rotted posts for hidden decay and moisture
- Verify level and plumb alignment using proper tools
- Assess drainage systems preventing future water damage
- Locate hydraulic jacks near the damaged member for safe lifting procedures
Your porch slanting tells a story of settlement and uneven loading. Before lifting procedures begin, you’re inspecting everything surrounding that weak post. Moisture loves hiding timber decay behind joints and finishes—don’t miss this step.
Once you’ve verified the full extent of damage, you’re ready to jack up your porch carefully. This temporary weight redistribution protects surrounding framing while you work. Taking time now prevents costly mistakes later.
How to Lift and Reset a Slanted Porch Floor
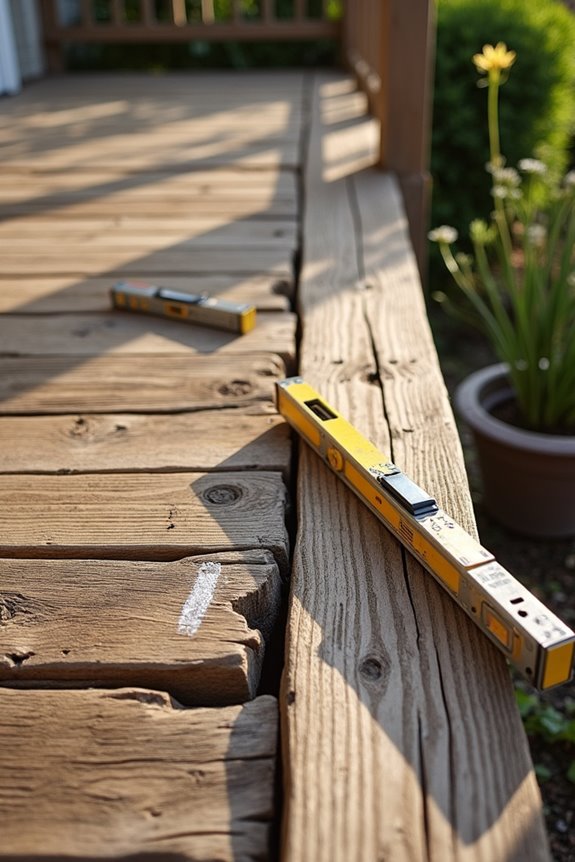
Why does your porch keep settling, and what can you actually do about it? The good news is that lifting and resetting a slanted porch floor is doable—you’re not stuck with a lopsided entrance forever!
Lifting and resetting a slanted porch floor is doable—you’re not stuck with a lopsided entrance forever!
Here’s what you’ll do: First, assess hidden rot in the framing carefully. Next, jack up the slanted porch at support posts near the failed areas. This redistributes weight safely so you can remove old, rotted posts.
Then comes the precision work. Level everything perfectly before lowering it back down. Install fresh treated posts and beams to support your porch properly.
Finally, re-secure all framing and check alignment again. Don’t skip proper drainage—it’s your best defense against future settling. Your porch can be level again!
Open vs. Enclosed Porches: Why Slope Requirements Differ
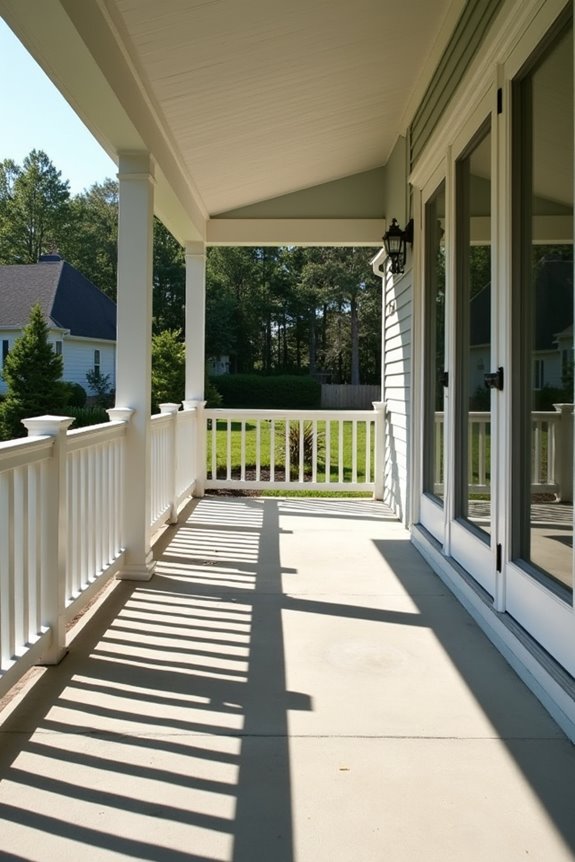
- Open porches require visible slope for obvious drainage
- Enclosed porches may hide slope under flooring materials
- Historical designs often included subtle tilts for water management
- Modern restoration means matching slope to your yard’s grade
Protecting your foundation starts with understanding porch construction basics. An open porch’s slope is obvious—you’ll notice the tilt. Enclosed porches disguise their slope effectively. During restoration, match that original angle. Proper drainage prevents rot and costly damage.
Preventing Future Settling: Moisture Control and Foundation Support
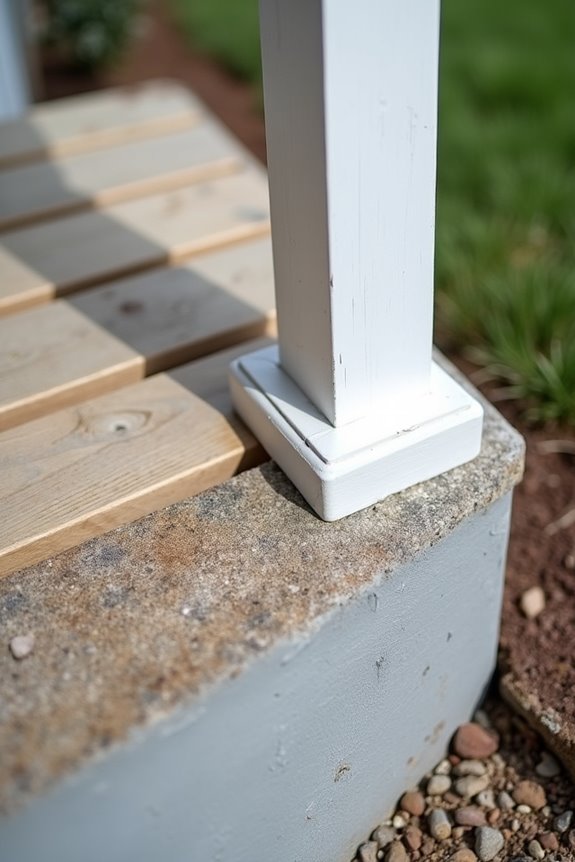
Inspect your flashing regularly and seal the joints where your porch meets the house. This creates a barrier against moisture infiltration. Treated posts and level beams work together to prevent settling issues down the road.
You’re not just fixing your porch today—you’re protecting it for years to come. Stay proactive with drainage maintenance and grading adjustments. Regular attention to these details will pay off.