The junction where your basement wall meets the floor is called a cove joint—and you’re right to ask about it. This spot is your foundation’s weakest link because hydrostatic pressure pushes groundwater right through it. Cold joints, seasonal movement, and poor drainage all contribute to leaks here. You’ll likely spot water seeping in during spring or after heavy rain. Solutions are available, from interior drainage systems to exterior waterproofing that work effectively.
What Is a Cove Joint and Why It Leaks
Ever wonder why your basement floods right where the wall meets the floor?
Ever wonder why your basement floods right where the wall meets the floor? The cove joint is your weakest point.
That junction is called the cove joint. It’s where your wall and footing connect, and it’s a common weak spot! When groundwater builds up outside your home, hydrostatic pressure pushes moisture right through this area. Many homeowners face this exact problem.
Leaks happen because the cove joint often lacks proper waterproofing. Your exterior sealant may have cracked. Your interior drainage might have failed. Clogged weeping tiles and poor floor drainage make everything worse by driving moisture toward that joint.
You can address this problem. Install interior or exterior waterproofing. Keep your sump pump in working order. Clear drainage pathways. These steps create a sealed barrier, protecting your basement from water infiltration. Take action now and restore your dry basement.
How Water Breaches the Wall-Floor Connection
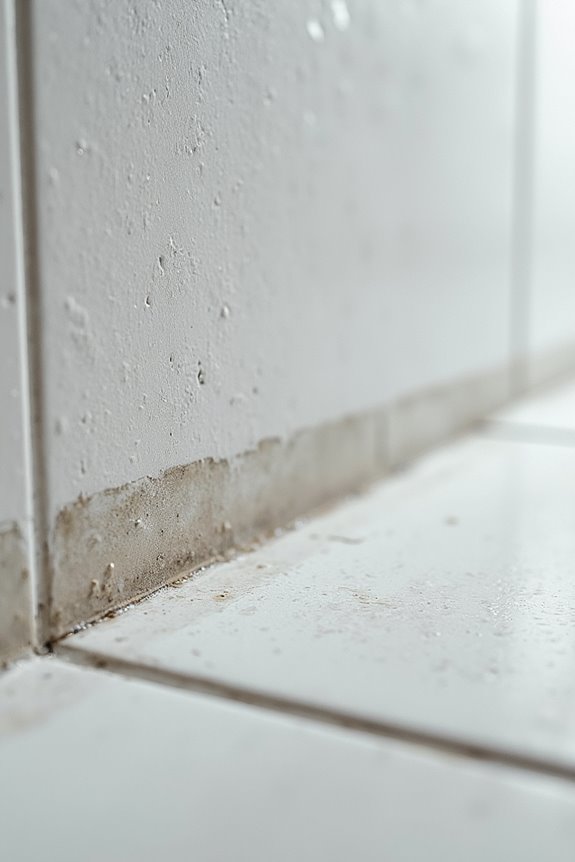
Water breaches your cove joint through three main troublemakers: hydrostatic pressure (that relentless push of groundwater against your foundation), vulnerable spots where concrete meets the wall (called cold joints), and seasonal movement that actually widens the gap. Clay-rich soil expands and contracts with moisture, which means your footing and wall can separate slightly each year. Once you know what’s attacking your basement, you’re ready to fight back with the right drainage solutions.
Hydrostatic Pressure Forces
Saturated soil acts like a sponge surrounding your basement. As the water table climbs, pressure builds beneath your footing, forcing moisture through masonry joints at the cove. You’re fighting against a constant, relentless pushing force from nature.
Clay soils intensify the problem. Seasonal expansion and contraction create tiny openings, giving water intrusion direct entry points. Without proper drainage systems—footing drains, weeping tile, or a sump pump—hydrostatic pressure increases dramatically.
The solution: install drainage systems immediately. Footing drains, weeping tile, and sump pumps reduce pressure and protect your basement from persistent moisture problems. These systems address the root cause of water intrusion rather than treating symptoms after damage occurs.
Cold Joint Vulnerabilities
Water finds every opening! Inadequate drainage under your basement slab allows moisture to pool and rise through that vulnerable cove joint connection.
You can seal it. Both interior and exterior waterproofing methods address this specific problem. By managing drainage and pressure around your footing-to-wall seal, you’ll protect your basement.
Seasonal Foundation Movement
| Season | Soil Condition | Impact |
|---|---|---|
| Spring | Wet, Expanded | Increased pressure |
| Summer | Dry, Contracted | Cracks form |
| Fall | Cooling | Temperature stress |
| Winter | Frozen, Shifting | Joint separation |
This movement generates hydrostatic pressure against your masonry joints, forcing water through tiny cracks. Temperature swings worsen the problem as footer and wall components expand and contract differently. The problem is real and predictable. Understanding this seasonal pattern helps you address leaks before they cause serious damage to your basement.
Diagnosing Your Cove Joint Leak: Water Source Checklist
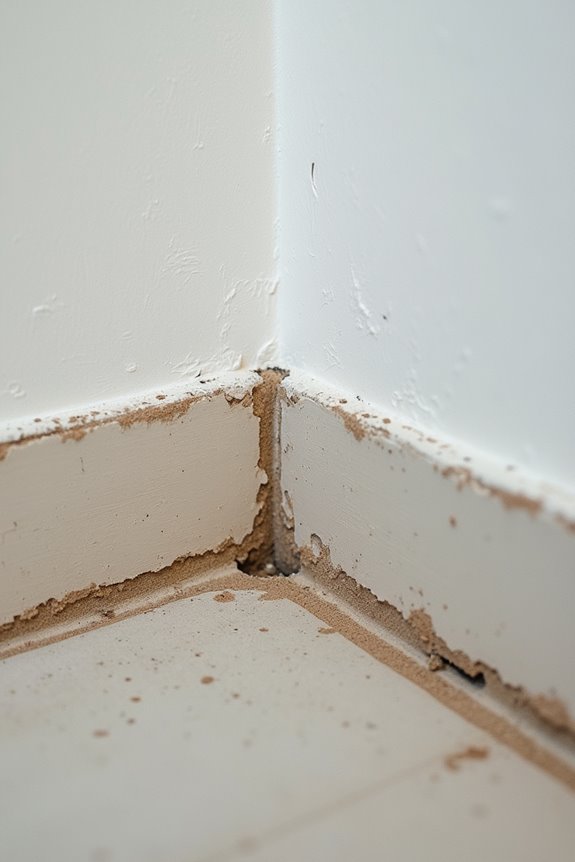
To stop that water from sneaking into your basement, you’ll need to find exactly where it’s coming in and why! Start by checking three key areas: where water’s actually entering at the wall-floor junction, whether your drainage system is doing its job (think clogged weeping tiles or broken sump pumps), and if the concrete or masonry itself is moving and cracking. Once you identify the source, you can move forward with repairs.
Identifying Water Entry Points
Where exactly is that water sneaking in?
You’re dealing with a common problem at your cove joint—where your wall meets the floor. Let’s pinpoint those water entry points together!
- Unsealed gaps in the joint allow hydrostatic pressure from soil to push water right through
- Compromised waterproofing on the exterior or interior surface creates weak spots
- Seasonal soil movement in clay expands and contracts, widening cracks
Look for damp spots and mineral deposits along that seam. You might notice moisture even when walls appear solid!
Check your basement waterproofing system carefully. Is it protecting that critical junction? Pay attention to these early warning signs—they’re your roadmap to preventing serious damage.
Drainage System Failures
You’ve spotted water at the cove joint—but here’s the thing: waterproofing alone won’t save you if your drainage system isn’t doing its job!
Your home’s drainage system is like a bodyguard protecting your foundation. When it fails, water builds up around your footing and pushes through that vulnerable wall-to-floor connection. Clogged weeping tiles, blocked drainage paths, and broken sump pumps are silent saboteurs working against you.
| Problem | Impact | Your Action |
|---|---|---|
| Clogged weeping tile | Water pools around foundation | Clear debris and inspect annually |
| Failed sump pump | Hydrostatic pressure increases | Test pump monthly, replace batteries |
| Blocked drainage path | Water can’t escape perimeter | Remove obstacles, improve grading |
| Missing drainage system | No moisture control whatsoever | Install or upgrade system immediately |
Don’t let drainage failures undermine your waterproofing investment. Take action now.
Structural Component Movement
Seasonal soil movement causes major problems at your cove joint:
- Clay soils expand when wet and shrink when dry, shifting the cold joint
- Temperature changes stress concrete, creating tiny gaps for water infiltration
- Freeze-thaw cycles push and pull your foundation walls
These movements worsen your basement leaks over time. The cove joint—that vulnerable spot where wall meets floor—gets stressed repeatedly. When wet seasons arrive, hydrostatic pressure pounds through these shifting gaps.
Recognizing seasonal movement allows you to anticipate problems and act promptly. Install interior drainage systems now to capture water before damage spreads.
Exterior Waterproofing Solutions and Why They Sometimes Fail
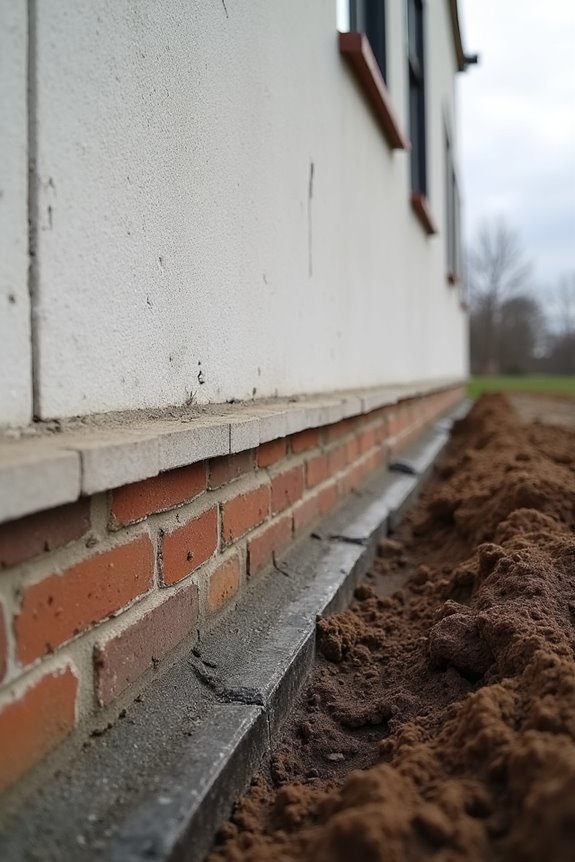
Why do some exterior waterproofing systems fail when they’ve been professionally installed? You’d think that wouldn’t happen, but it does! The problem often lies at the cove joint—where your wall meets the footing. If the waterproof membrane doesn’t extend past this critical junction, water sneaks underneath and reaches your basement interior.
Here’s what commonly goes wrong:
| Problem | Cause | Result | Prevention |
|---|---|---|---|
| Membrane gaps | Stops at cove joint | Water bypasses protection | Extend past footing |
| Clogged tile | Debris buildup | Drainage fails | Regular maintenance |
| Poor grading | Soil slopes toward house | Hydrostatic pressure increases | Redirect water away |
| Clay soil | Heavy water retention | Membrane undermined | Improve drainage |
You’re protecting your footing/wall junction, so don’t settle for shortcuts. Proper installation and maintenance keep your basement dry!
Interior Drainage: When Exterior Isn’t an Option
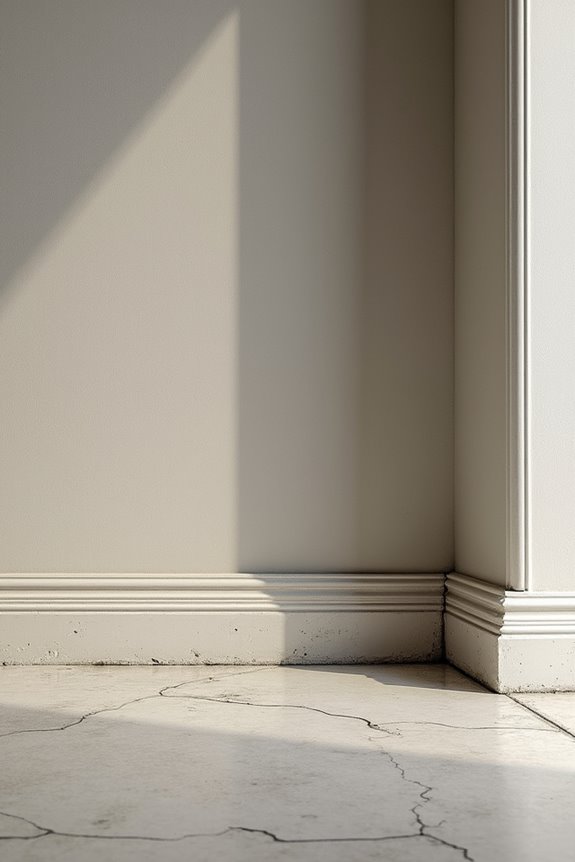
What if you can’t dig up your yard or your neighbors won’t allow exterior work? Interior drainage solutions offer you a practical alternative! You’re not alone in facing this challenge, and you’ve got effective options available.
Here’s how interior drainage tackles your cove joint problems:
- Remove concrete up to 18 inches from walls and install weeping tile connected to a sump pump
- Place gravel and drain pipe to channel water away from that vulnerable wall-meets-floor area
- Use plastic drain channels epoxied along perimeter walls for low-impact seepage control
This approach relieves hydrostatic pressure right where your cove joint struggles most. You’re directing water away without major excavation! However, remember this works best when water enters primarily through the cove joint. You’ll want to maintain your interior drainage components regularly.
Why Sealing the Joint Doesn’t Work (And What Actually Does)
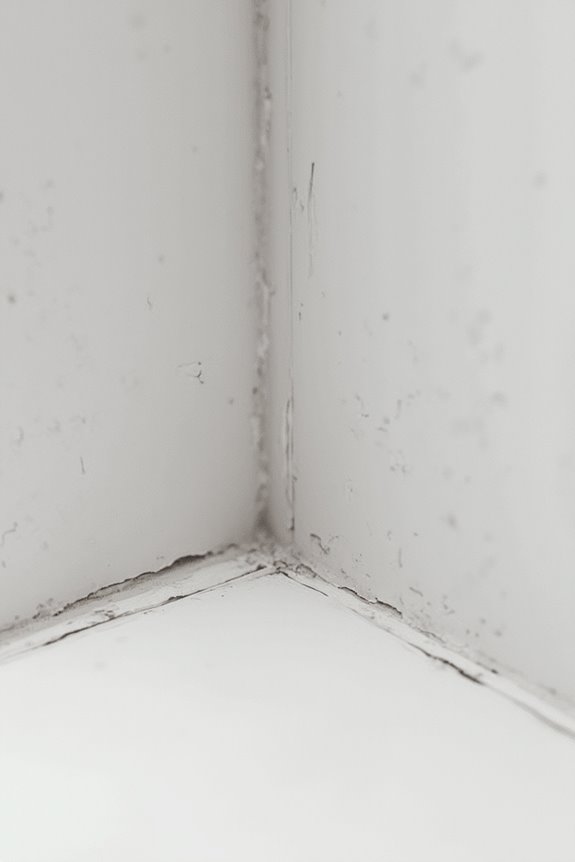
Install a sump pump connected to your drainage system. You’re addressing the water source, not just hiding the problem. That’s the effective approach.
DIY vs. Professional: Choosing Your Waterproofing Strategy
You’ve got water seeping into your basement at the cove joint—now comes the real decision.
Consider these three factors:
- Leakage severity – Minor drips? Try DIY interior waterproofing with plastic drain channels. Major flooding? You’ll need professional exterior work.
- Excavation feasibility – Can you dig around your foundation? Exterior waterproofing stops water before it enters. Tight spaces? Interior solutions work better.
- Root cause – Is hydrostatic pressure pushing water through, or is your existing waterproofing failing? Different problems need different fixes.
Here’s the truth: DIY products handle smaller issues at lower cost. Professional exterior waterproofing with membranes and weeping tile provides lasting protection. Many homeowners start small, then upgrade later. Assess your specific situation honestly, and you’ll choose the right strategy for your peace of mind.