Yes, you can absolutely wallpaper textured walls—you just need the right strategy!
Identify your texture first: orange peel and knockdown are wallpaper-friendly, but popcorn’s tricky. Clean thoroughly, fill holes, and prime for better adhesion.
Choose heavy-duty vinyl or paste-the-wall options that grip textured surfaces. Work in small sections, smoothing from top to bottom to banish bubbles.
Seal seams carefully since texture demands extra attention. Sound manageable? The specifics get even more detailed ahead.
Can You Actually Put Wallpaper on Textured Walls?
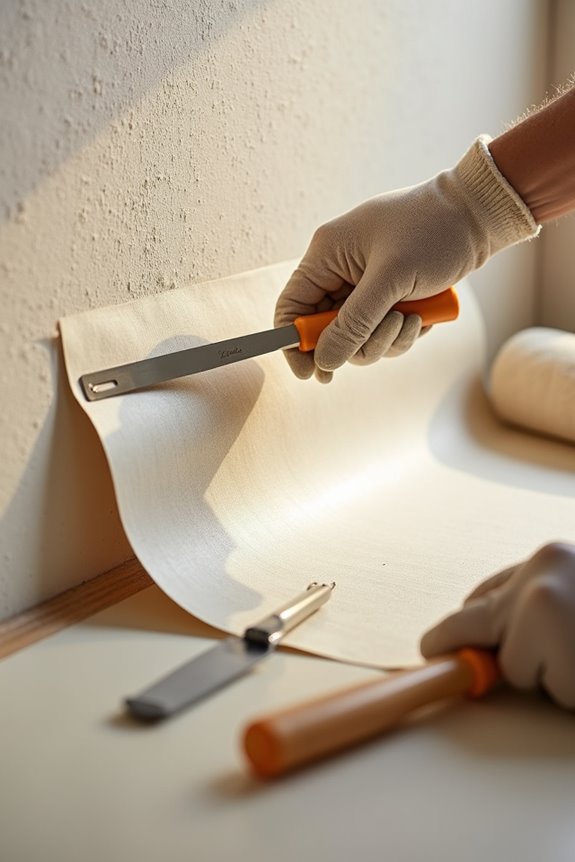
Yes, you can put wallpaper on textured walls—but here’s the caveat! Success really depends on your specific texture types and preparation work. Orange peel and knockdown textures? You’re in luck! These are innately receptive to wallpaper adhesion. However, heavy popcorn ceilings present real challenges.
Here’s what you need to know: preparation is everything. You’ll want to smooth rough spots, fill gaps, and apply priming before installation. Choosing the right wallpaper matters too. Vinyl wallpaper or paste-the-wall options perform better on textured surfaces than standard varieties.
Before committing fully, testing a sample on your highest-texture area is smart. This simple step reveals how your wallpaper will actually stick and whether texture visibility becomes a problem.
Why Texture Type Makes All the Difference
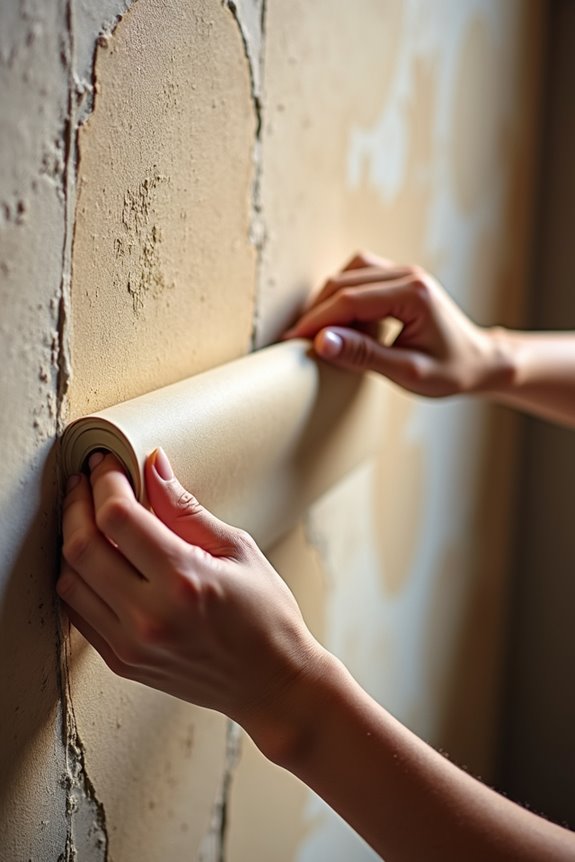
Not all textured ceilings work the same way, and this difference directly impacts how well your wallpaper sticks and looks. Orange peel and knockdown textures are forgiving and let wallpaper adhere smoothly—but popcorn ceilings demand extra prep work, primer, or liner paper before you apply anything. Matching the right wallpaper material to your texture type makes installation easier, so vinyl works well on mild textures while heavy-duty or textured wallpaper options handle rough surfaces without showing every bump underneath.
Texture Severity And Adhesion
Because your wall’s texture directly affects how well wallpaper sticks, understanding this relationship is important to your project’s success! Heavier textures like popcorn ceilings create serious adhesion challenges, while gentler textures like orange peel work well with your wallpaper.
Here’s the key: bumpy surfaces need extra preparation. Those peaks and valleys prevent wallpaper from making full contact with your wall. You’ll want to smooth rough spots and apply primer before hanging anything.
Think of it this way—would you stick a sticker on a bumpy surface or a smooth one? Same principle applies here! The smoother you prepare your textured walls, the better your wallpaper adheres.
Choose heavy-duty vinyl for rough textures. Always test your wallpaper type on a small area first.
Material Compatibility With Textures
Vinyl wallpaper and paste-the-wall options work well for texture compatibility. These materials bond stronger to textured walls than traditional wallpaper does. They grip better and stay put longer.
Before committing fully, test a sample on your roughest wall area. This reveals adhesion success before full installation begins.
Don’t skip primer either. It smooths minor imperfections and creates a better surface for wallpaper application. Textured walls benefit from proper surface preparation. Choose wisely, prepare thoroughly, and you’ll achieve professional-looking results.
Identify Your Texture Type: Orange Peel, Knockdown, or Popcorn
Run your hand across the wall. Does it feel bumpy like fruit skin or rough like popcorn? Identifying your specific texture type guides everything: which surface smoothing techniques you’ll use, whether you need liner paper, and which wallpaper works best.
Clean Your Textured Wall Before Wallpapering
Before you hang that beautiful wallpaper, you need to clean your textured walls thoroughly—and this step really matters! Use a soft-bristled brush with warm soapy water to scrub away dirt, grime, and any old adhesive that’s clinging to the surface, then rinse everything clean and let it dry completely. Once your walls are bone-dry and dust-free, you’re ready to create the proper base for wallpaper that’ll stick around for years!
Remove Dirt and Grime
Since textured walls collect dust and grime like magnets, you’ll want to give yours a good cleaning before hanging wallpaper. Grab a soft-bristled brush, warm soap and water, and get ready to work! The textured surface traps dirt in all those little nooks and crannies, so you need to be thorough. Scrub gently but firmly, paying special attention to corners and edges where grime loves to hide. Ready to rinse? Use clean water and work systematically across the entire wall. This step matters. You need your walls to dry completely before wallpaper goes on—moisture trapped underneath causes bubbling and peeling. Set up a fan if needed. Once everything’s dry, you’re ready for the next phase. Your future wallpapered walls will thank you!
Eliminate Old Adhesives
If your textured wall’s had previous wallpaper or posters, you’ve probably got adhesive residue lurking in those bumpy crevices. This sticky stuff is your enemy—it’ll prevent new wallpaper from sticking properly and create a lumpy, uneven surface.
Grab a scraper and gently lift stubborn patches of old adhesive. Work carefully so you don’t damage the texture underneath. For stubborn residue, use a mild adhesive remover following the product instructions closely.
After scraping, scrub the area thoroughly with soapy water and a soft-bristled brush. This cleaning step removes leftover gunk hiding in the crevices. Rinse with clean water until no soapy film remains.
Let those dry surfaces cure completely before wallpapering. Moisture trapped under new wallpaper causes bubbles and failure. This prep work will help your wallpaper installation succeed.
Dry Walls Completely
During drying preparation:
- Air circulates freely around your textured walls for even moisture removal
- Windows stay open to encourage natural ventilation and faster drying
- Hours pass (usually 24+) allowing deep cleaning moisture to escape completely
- Your wall surface becomes primed for perfect adhesion with wallpaper
- Any glossy finishes receive primer application after full drying occurs
Don’t rush this step. Patience now prevents problems later. Once your textured walls are completely dry and prepped, you’re ready for wallpapering success.
Fill Holes in Textured Walls for a Smoother Base
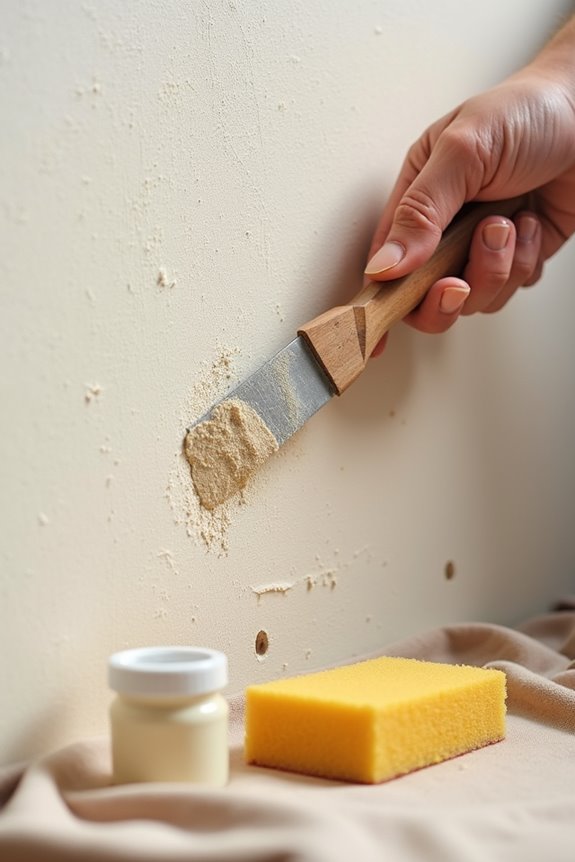
What’s hiding beneath that bumpy texture? Probably some holes and cracks you’ll want to fix!
Filling imperfections is an important part of wallpaper preparation. Start by applying joint compound or spackling paste directly into holes. For textured walls, use a wide knife to work in 2 ft by 2 ft sections, smoothing as you go to minimize ridges.
Once dry, sand smooth until patches blend seamlessly with surrounding texture. If deep holes remain, apply a second thin coat and re-sand. You’re building a solid foundation!
Next comes priming: apply wallpaper-specific primer. This improves adhesive bonding and prevents texture telegraphing through your new wallpaper.
Make sure everything’s completely dry and dust-free. Your textured walls are now ready for beautiful wallpaper.
Sand Down Heavy Texture if Needed
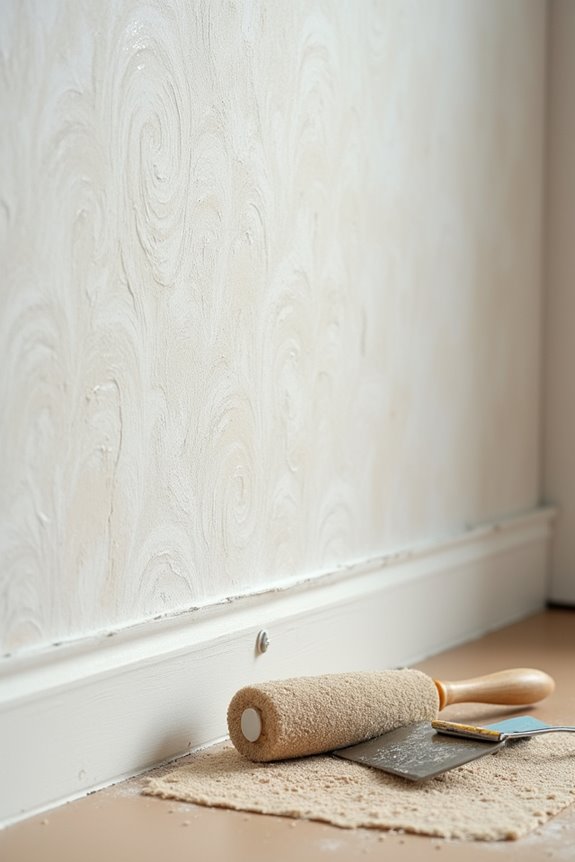
Now you’ll need to assess how severe your texture really is—some walls just need a light touch, while others are pretty aggressive! If you’ve got those heavy, bumpy textures, you’ll want to grab an orbital sander and go to work smoothing things down, but start with a test spot first to see if it’s actually making a difference. Once you’ve sanded and filled any stubborn uneven spots with joint compound, you’re ready to prime and hang that wallpaper!
Assessing Texture Severity
Run your hand across the wall. Does it feel bumpy or smooth? Here’s what you’re evaluating:
- Popcorn ceilings—rough, cottage cheese-like texture requiring significant smoothing
- Orange peel—light, subtle bumps needing basic preparation
- Knockdown—flattened peaks presenting moderate challenges
- Swirled patterns—uneven surfaces demanding careful attention
- Smooth drywall—the ideal scenario requiring only primer
If your textured walls feel heavily textured, you’ll likely need an orbital sander and joint compound to create an even surface. This preparation allows proper wallpaper adhesion and professional results.
Sanding Techniques And Tools
Still not smooth enough? No problem! Apply a thin joint compound layer with a wide knife for a smooth surface finish.
Prime Your Walls for Better Adhesion
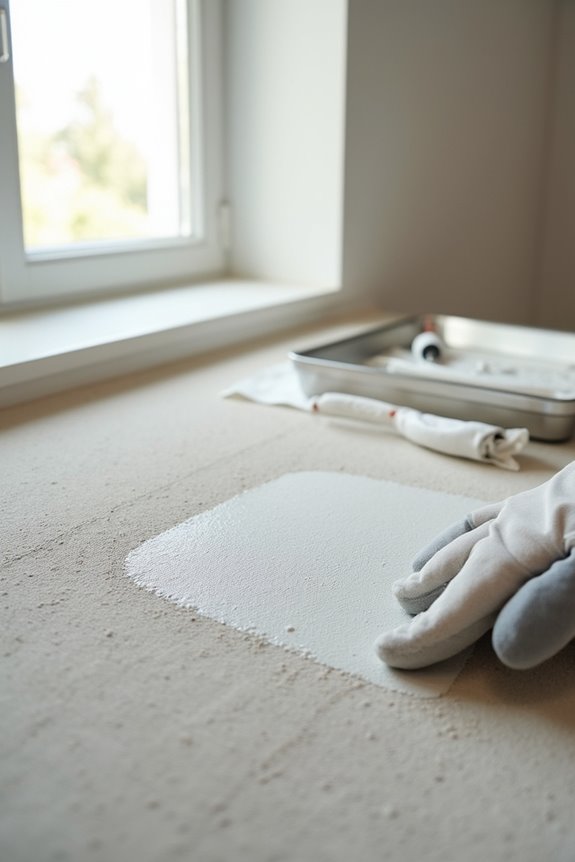
Seal those porous textured surfaces with primer, and your wallpaper will stick around for years. Here’s what happens when you skip this step: your wallpaper bubbles, peels, and fails within months.
Why primer matters:
- Reduces surface suction that pulls moisture from adhesive
- Creates uniform base for even wallpaper appearance
- Seals porous textures so nothing gets absorbed unevenly
- Allows bonding primer to maximize tack on rough walls
- Gives you time for proper curing before wallpaper installation
Choose a wallpaper-specific primer or high-quality bonding primer. Let it fully cure and gas out—patience pays off. Before hanging wallpaper, confirm your surface is completely dry and dust-free. You’re building the foundation for beautiful, long-lasting results.
Choose Heavy-Duty or Removable Vinyl Wallpaper
| Wallpaper Type | Texture Level | Adhesion | Removability |
|---|---|---|---|
| Heavy-Duty | All textures | Excellent | Permanent |
| Removable Vinyl | Mild to moderate | Strong | Yes |
| Peel & Stick | Mild only | Fair | Yes |
| Popcorn | Not recommended | Weak | N/A |
Orange peel textures work well with removable vinyl. Popcorn textures require heavy-duty wallpaper for superior grip. Always test a sample on your roughest area first. This check reveals adhesion success before committing fully.
Paste-the-Wall Works Better on Textured Walls: Here’s Why
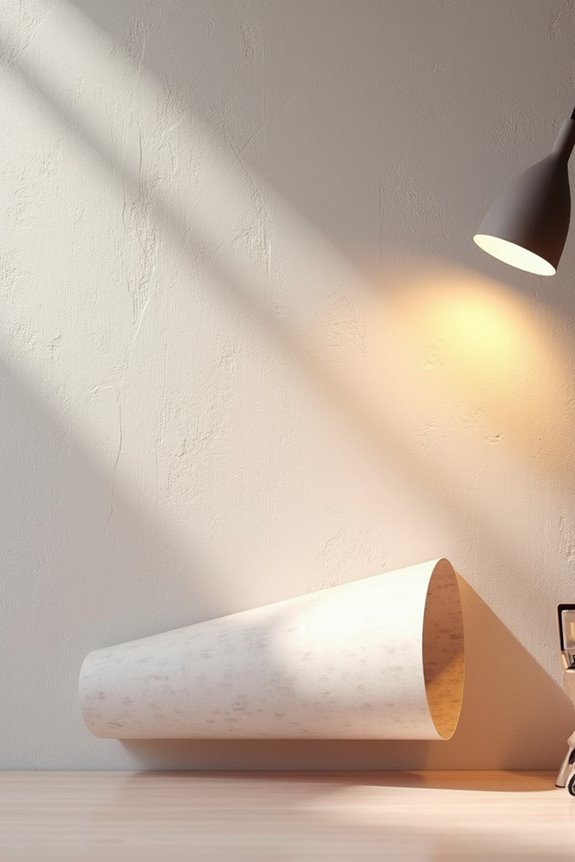
What makes paste-the-wall your advantage:
- The release liner protects adhesive until you’re ready
- Sturdier construction bridges minor imperfections with ease
- Direct wall contact improves durability significantly
- Smoothing becomes easier with built-in conformability
- Orange peel and knockdown textures hide flaws effectively
You’re investing in a professional finish! Paste-the-wall wallpaper handles irregularities that traditional papers struggle with. The adhesive conforms to your textured walls naturally, eliminating frustrating installation headaches. For mild to moderate textures, you’ll achieve excellent results without extra preparation. Ready to update your walls?
Skip Traditional Wallpaper (Here’s Why)
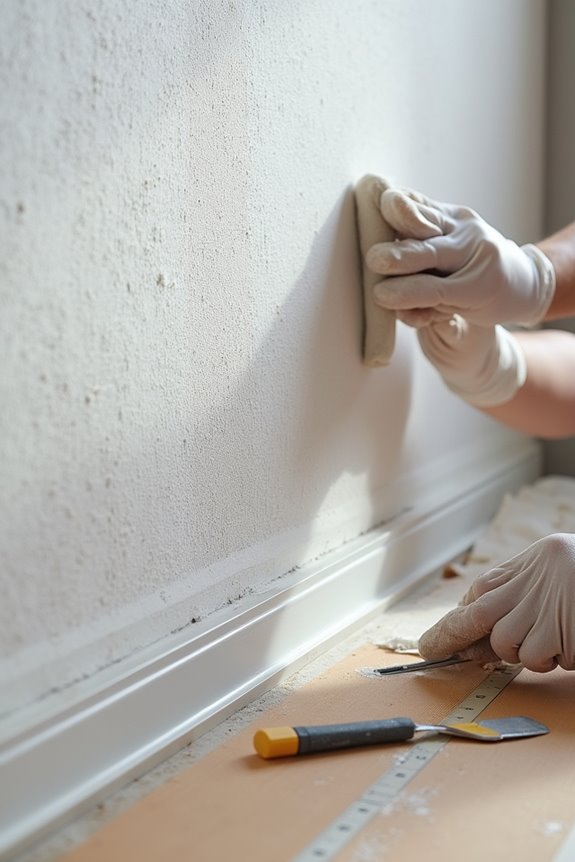
Why does traditional wallpaper struggle on textured walls? You’ll face serious bonding issues! Traditional wallpaper simply can’t conform to uneven surfaces. Those bumps and ridges create gaps where adhesion fails.
Here’s what happens: bubbles form, wrinkles appear, and your paper peels away. Even with priming and smoothing, you’re fighting an uphill battle. Skip traditional wallpaper altogether!
Instead, consider paste-the-wall or removable vinyl options. These alternatives grip textured walls far more effectively. They’re forgiving, flexible, and they actually stick around—literally!
Why struggle with priming and extensive smoothing when better solutions exist? Other decorators have moved away from traditional methods. Test paste-the-wall first on your roughest texture spot. You’ll see immediate results and gain confidence. Choose the right product for your walls!
Apply Wallpaper in Small Sections to Minimize Bubbles
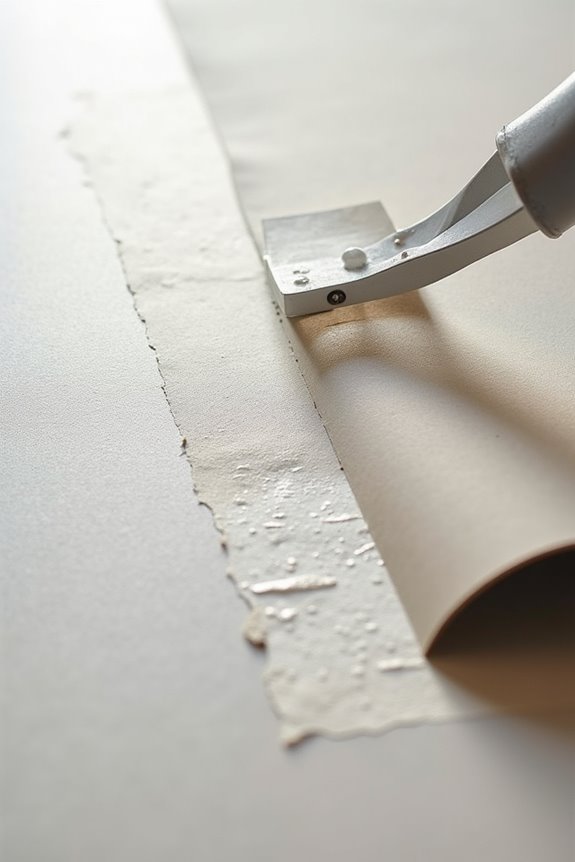
Small sections help you control bubbles and wrinkles effectively. Work in 2 ft by 2 ft sections, smoothing each one before moving forward. This manageable approach keeps you in control and prevents air bubbles from forming under your wallpaper on textured walls.
Small sections keep you in control and prevent air bubbles from forming under your wallpaper on textured walls.
Here’s your process:
- Cut and align each section carefully before pressing it down
- Use a smoothing tool to push air outward, starting from the top
- Work downward methodically across textured walls
- Check adjacent sections for bubbles before adhesive sets
- Lift and re-smooth at seams if bubbles appear
Why does this matter? Small sections let you catch problems early. You’ll maintain even coverage while keeping air bubbles from forming.
Smooth Wallpaper From Top to Bottom to Avoid Bubbles
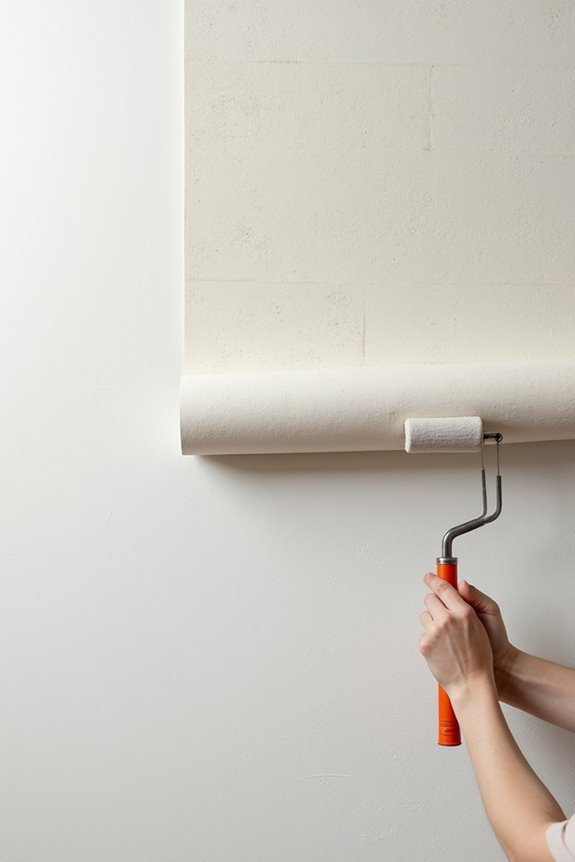
What’s the approach to bubble-free wallpaper on textured walls? Smooth from top to bottom, pushing air downward and outward as you go. You’ll work in small sections, using a felt smoothing tool or credit card to eliminate air bubbles before the adhesive sets.
Start at the top and work systematically downward. This gravity-assisted technique prevents air from becoming trapped underneath. Smooth each 2 ft by 2 ft area, moving outward from the center toward the edges. This motion forces air bubbles out naturally.
After completing your installation work on textured walls, recheck for bubbles immediately. Gently rework any problem spots with your smoothing tool while the adhesive is still workable. Patience and steady movements create professional-looking results every time.
Hide Texture With Thicker Wallpaper and Dark Colors
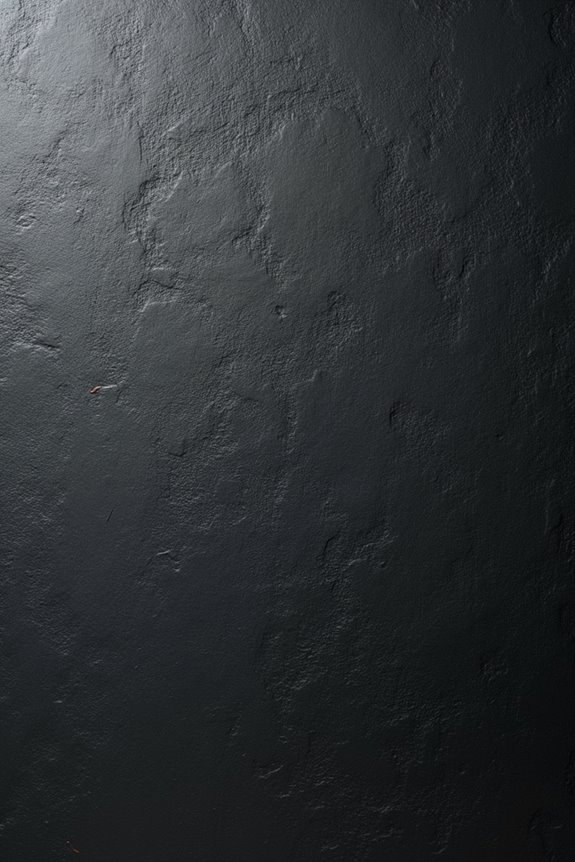
How’d you like to make those bumpy walls disappear? You can do it with thicker wallpaper and dark colors!
Thicker wallpaper hides texture way better than thin stuff. Choose 300gsm non-woven heavy grade for serious coverage. Dark colors and bold patterns work well against visible bumps. They mask imperfections that light colors would show.
Thicker wallpaper beats thin every time—go heavy grade for serious texture coverage using dark colors and bold patterns.
Here’s your winning combination:
- Heavy-duty vinyl wallpaper for superior adhesion
- Deep jewel tones like emerald or navy
- Bold geometric or busy floral patterns
- Textured grasscloth for extra concealment
- Professional priming before installation
Before you apply anything, prime those textured walls properly. This prevents the texture from showing through later. Bold patterns distract the eye, making irregularities disappear. You’re creating a polished look with deliberate design choices. Countless homeowners have used this approach to improve their spaces.
Cut Wallpaper Around Edges and Corners
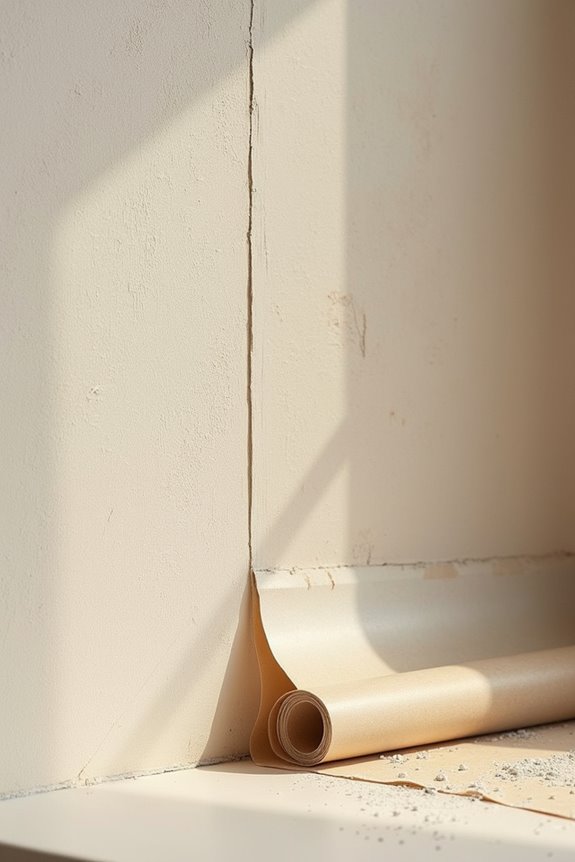
Once you’ve picked your wallpaper and primed those textured walls, it’s time to handle the trickiest part—cutting.
Use a sharp utility knife and straight edge to cut wallpaper pieces that fit perfectly around edges and corners. Measure corner-to-corner distances carefully, and don’t forget about pattern matching for seamless transitions.
Here’s a helpful tip: score or trim the backing near edges to prevent tearing when you bend paper around interior corners. Start at a corner, align that edge first, then smooth toward the center. This minimizes wrinkles where walls meet.
For tight spots on textured walls, grab a flexible trimming tool or small sawtooth knife. It’ll help you adapt the paper along irregular gaps for a flush, professional finish. With practice, you’ll develop the skill to handle these details effectively.
Fix Bubbles, Wrinkles, and Seams as You Go
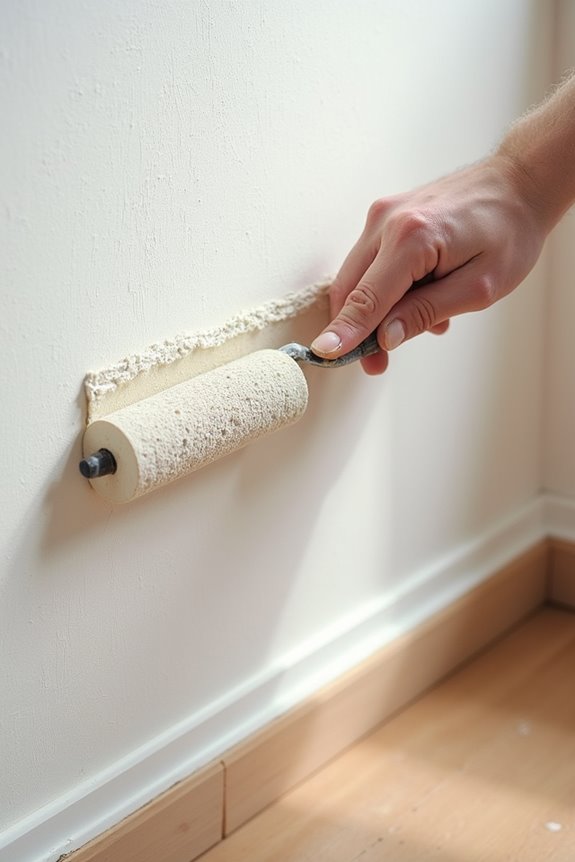
As you apply each section, you’ll want to smooth out air bubbles and wrinkles right away—don’t wait until the adhesive sets! Use a felt tool or credit card to press from the top down with steady pressure, and if you spot a bubble or seam that isn’t sitting right, you can reposition it before the glue dries completely. Working quickly and carefully in small sections keeps your wallpaper looking smooth and professional!
Smooth Out Air Bubbles
Why do air bubbles seem to appear out of nowhere? They’re sneaky! When you’re applying wallpaper to textured walls, trapped air creates frustrating bumps. Here’s how to fix them:
- Press from center outward using your felt smoothing tool with gentle pressure
- Work top to bottom so air escapes naturally downward
- Smooth as you go to prevent bubbles from setting permanently
- Lift the seam slightly if a bubble appears, then re-seat the wallpaper firmly
- Use clean strokes with your tool until everything sits flush against the wall
The key? Don’t panic when bubbles form—they’re completely fixable! Simply locate the bubble, gently lift the adjacent seam, and smooth everything back down with your tool. You’re creating a professional finish that will look polished and well-executed.
Eliminate Wrinkles During Application
Work section by section, staying ahead of the adhesive setting time. Catch lifted areas immediately—repositioning is easier before adhesive fully sets. Keep your movements deliberate and calm. Practice patience during wallpaper installation, and you’ll develop the skills of experienced decorators.
Seal Seams Properly
Perfect seams are what separate an amateur job from a professional-looking finish! You’re almost there, so don’t skip this step. On textured walls, seams need extra attention because imperfections show easily.
Your seam-sealing action plan:
- Align edges tightly and press firmly with a straight edge to prevent visible gaps
- Use a smoothing tool or credit card to push out air bubbles from center outward
- Apply fresh adhesive along seam lines and press to set the join
- Slightly overlap seam edges on vinyl papers, then smooth for near-invisible results
- Revisit rising seams after the wallpaper sets with seam repair paste
Work systematically through each section. You’ll catch lift early when you recheck seams immediately. This attention to detail keeps your textured walls looking polished. Your effort creates that professional result you’re aiming for!