
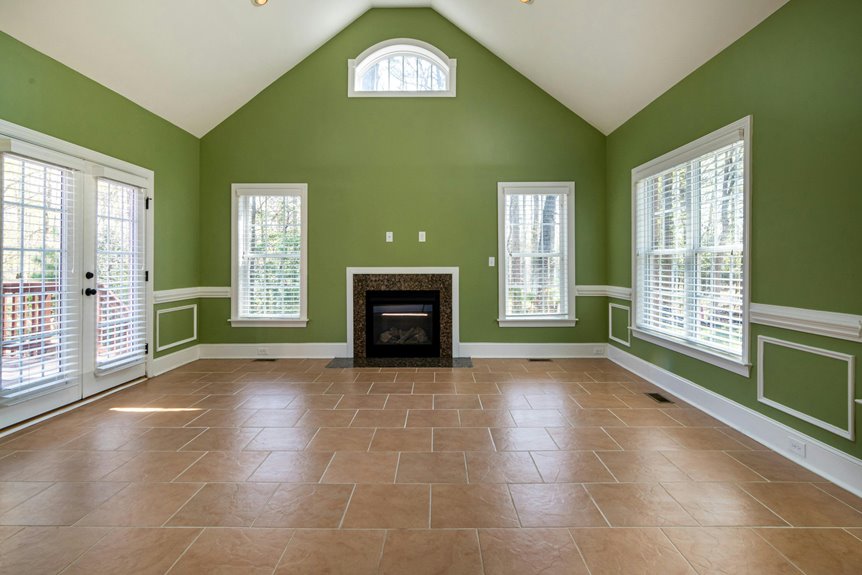
Paint your fireplace tile in five simple steps! First, decide between solid color or stenciled patterns—both look great. Next, prep your tiles by cleaning thoroughly and applying shellac-based primer. Then paint your base coat and let it dry completely. Ready for pattern work? Secure your stencil with tape and carefully apply latex paint. Finally, seal everything with water-based polyurethane for lasting protection. Want to master each step perfectly?
Decide: Solid Color or Stenciled Pattern
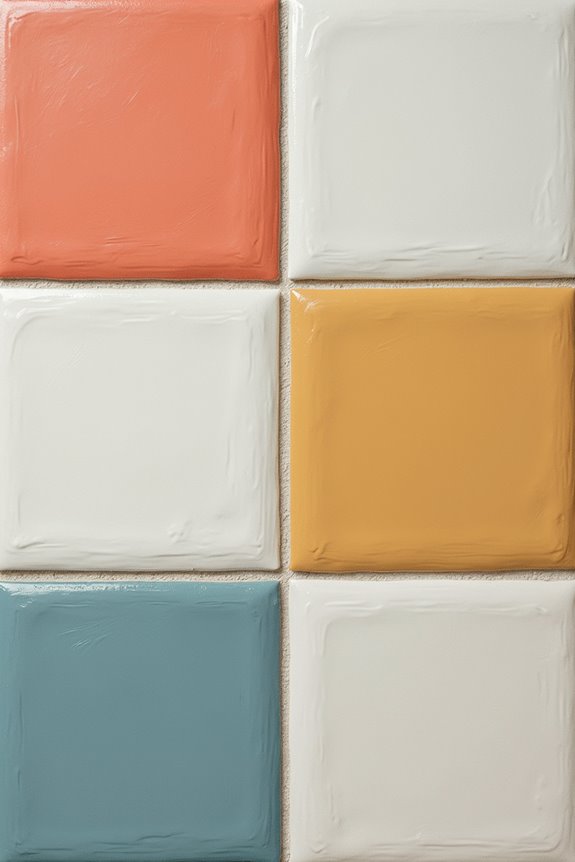
Both options finish with water-based polyurethane sealing to protect your painted fireplace tile long-term. Choose what works best for your space.
Prepare Your Tile and Gather Supplies
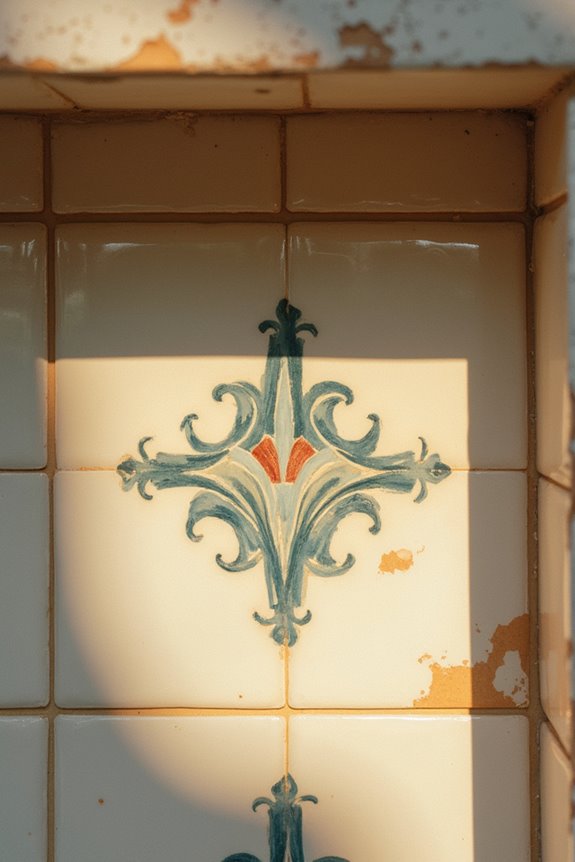
How ready are you to prepare those tiles?
Before you start painting your fireplace tile, you’ve got to prep! Here’s what you’ll tackle:
Before you start painting your fireplace tile, you’ve got to prep! Here’s what you’ll tackle.
- Clean thoroughly – Remove grime and dust from your tiles so the tile primer sticks perfectly. Grab a cloth and get those surfaces spotless!
- Prime with shellac – Use a shellac-based primer like BIN and your foam brush. This creates the grip your painted fireplace tile needs to last.
- Gather your supplies – Stock up on Behr Lunar Surface or Evening White in matte finish, a 2-inch angled brush, painter’s tape, and stencil materials.
You’re building your foundation now! These steps matter because they help everything stick better. With clean tiles and quality primer, your design will look professional and polished.
Prime and Paint Your Fireplace Tile Base
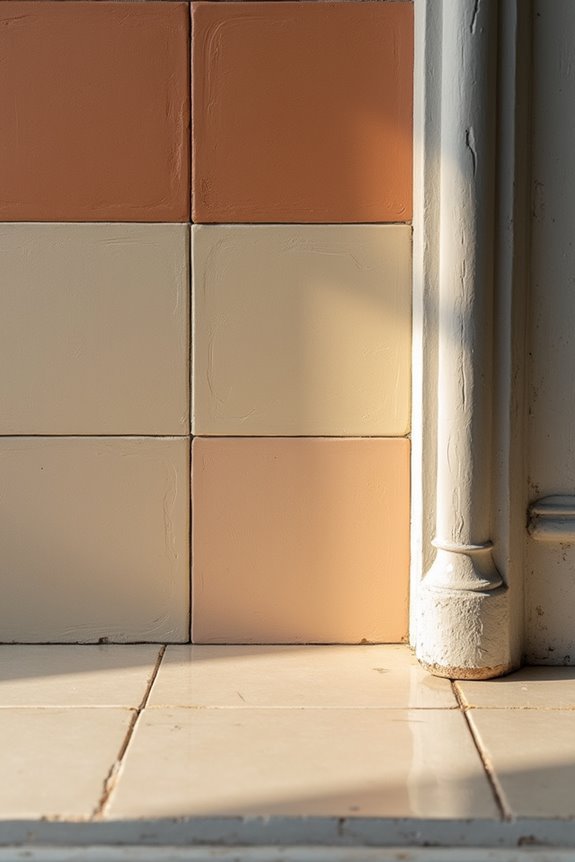
Let everything dry for about 24 hours. Don’t rush this step! Your tile makeover depends on proper drying time. Once dry, you’re ready for your topcoat and stenciling. Your fireplace project is almost complete!
Stencil Your Tile Pattern (or Skip to Sealing)
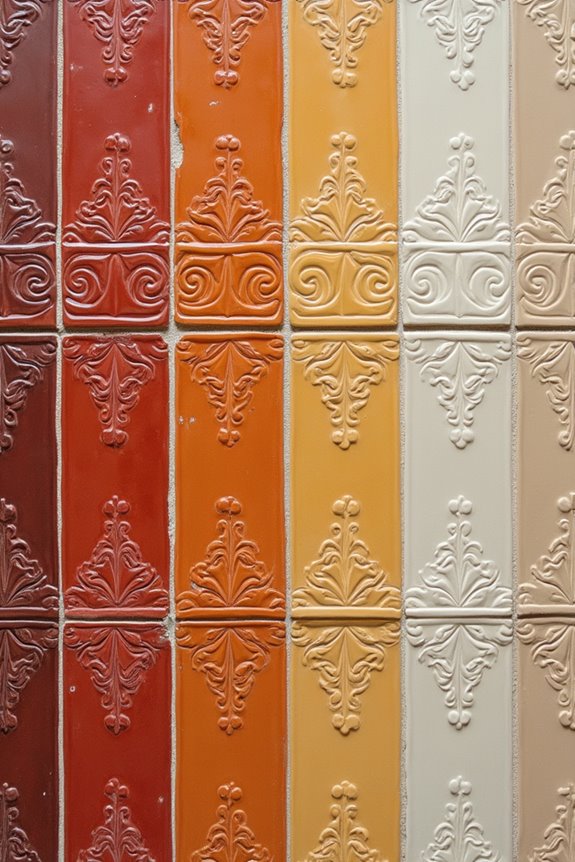
Stencil Your Tile Pattern (or Skip to Sealing)
Your fireplace tile’s base coat is dry, and now comes the fun part—adding your custom pattern! You’re ready to grab your stencil brush and create something unique.
Here’s how to nail this step:
- Secure your stencil with painter’s tape, using the registration marks for perfect stencil alignment on your tile surround
- Load latex paint onto your stencil brush, then offload excess onto a paper towel to prevent messy bleeding
- Stencil every other tile for proper air-dry time, then reposition and repeat until your entire design is complete
Remove your stencil gently and touch up any spots with a small angled brush. Once everything dries completely, seal your work with water-based polyurethane. This protects your effort and extends its lifespan.
Seal Your Painted Tile and Let It Cure
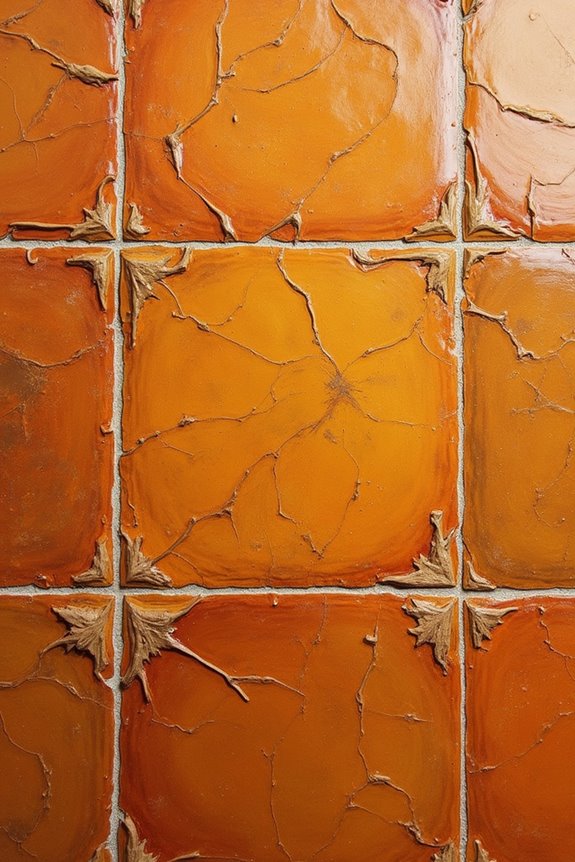
Avoid pooling sealant near grout lines—a common mistake. Check grout coverage carefully and touch up any missed spots. Let each coat cure completely before applying the next one. Your fireplace will have lasting beauty!