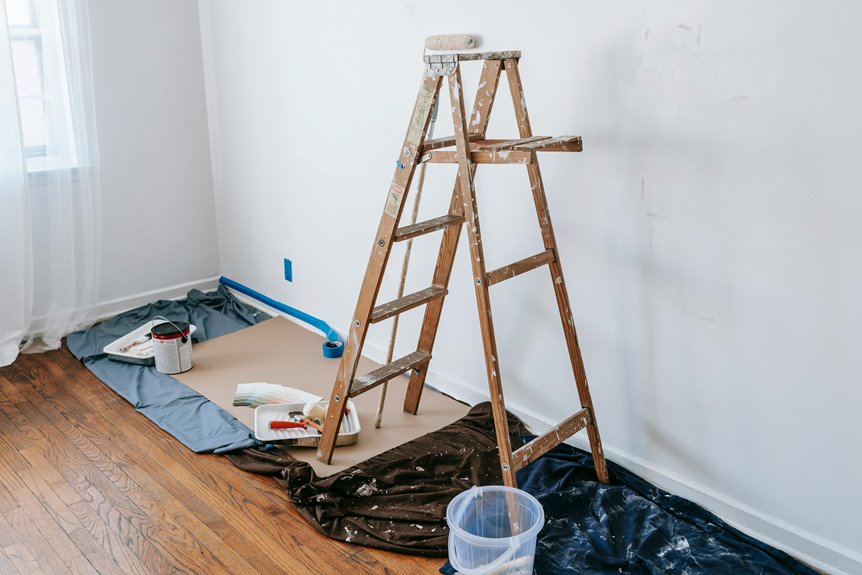
Yes, you must wash your walls before painting—it’s important! Dirt, grime, and grease prevent paint from sticking properly, leading to peeling and blistering. Start with mild soap and lukewarm water for most surfaces. Use grease-cutting detergent in kitchens where stubborn buildup hides. Rinse thoroughly with clean water, then let everything dry completely. Don’t skip this step; proper wall prep determines whether your paint job lasts years or months. There’s actually more to know about getting professional results.
Assess Your Walls: Damage, Dirt, and Condition
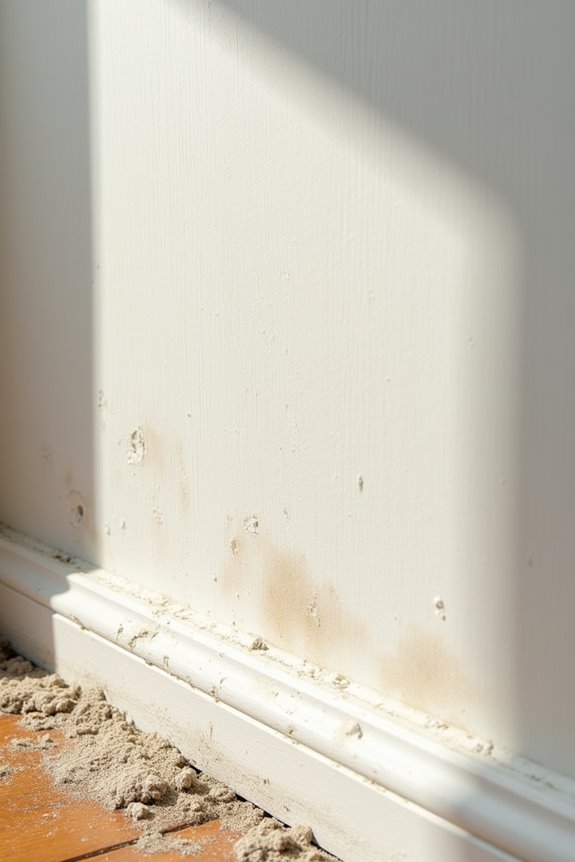
Why would you paint over a dirty wall? You wouldn’t! Before grabbing your paintbrush, take time to assess your walls carefully.
Look for visible dirt, grime, and cobwebs that’ll sabotage your paint job. Kitchen walls? They’re covered in grease and need special attention. Check for stains, scuffs, and dust that prevent paint from sticking properly.
Feel your walls with your hand—they should be smooth and clean. Notice any moisture or dampness? That’s a warning sign. Moisture causes peeling and uneven finishes later.
Don’t skip this step. Washing removes everything blocking good adhesion. You’re joining countless successful painters who understand this principle: clean walls equal quality results. Take thirty minutes now to inspect thoroughly. Your finished project will reflect your effort!
Repair Cracks, Holes, and Peeling Paint First
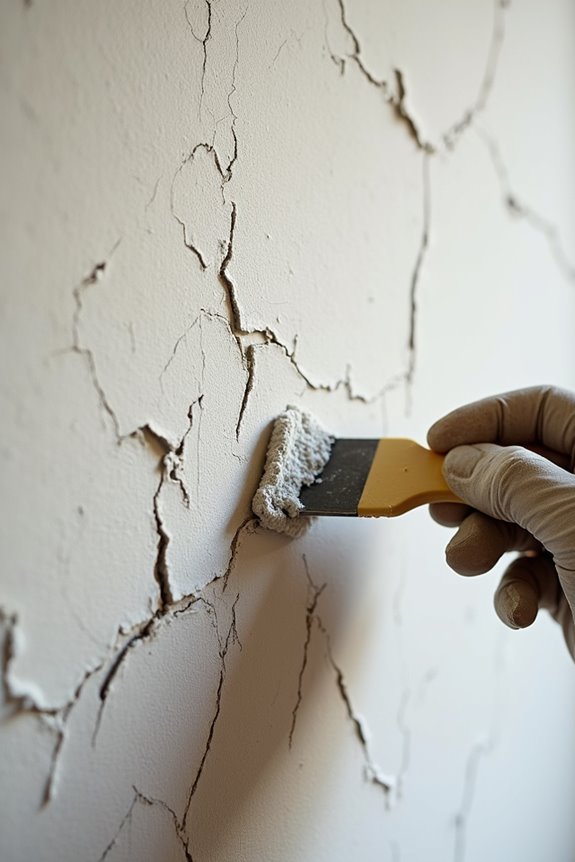
Before you wash those walls, you’ll want to fix any damage first—because painting over cracks and holes is like putting a bandage on a problem that needs real treatment! Grab your spackle or patching compound and fill in those imperfections, then sand the repaired spots smooth with fine grit sandpaper so everything feels level and uniform. Once you’ve wiped away all that dust, you’re ready to move forward.
Assess Wall Surface Damage
To get the best results from your wall washing, fix any damage first.
Before you grab that sponge, take a good look at your walls. You’re checking for problems that’ll affect your paint job later. Here’s what you need to spot:
- Cracks and holes – These need crack repair before washing. Spackle fills them perfectly.
- Peeling paint – Scrape it away and sand smooth edges. This surface prep step matters.
- Dust and debris – Wipe everything with a damp cloth after repairs dry completely.
Why wait? Because wet paint traps moisture in damaged spots, causing bigger problems. Let repaired areas dry thoroughly—this prevents sealing in flaws. Taking time now saves frustration later. Your walls will look better when that fresh paint goes on.
Spackle and Sand Repairs
Now that you’ve spotted the problem areas, it’s time to fix them! Start by scraping away any peeling paint until the surface feels smooth and even. Next, fill cracks and holes with spackle, pressing it firmly into place. Once dry, grab your fine-grit sandpaper and sand—this smooths everything and blends those patched spots seamlessly. Sanding may expose dusty, porous areas, so don’t skip this step! After patching is complete, vacuum or dust thoroughly, then wipe walls with a damp cloth. Let everything dry completely. You’re almost there! This preparation work isn’t glamorous, but it’s absolutely worth it. Clean, smooth walls give you a solid foundation for paint that sticks beautifully and looks professional.
Wash Walls With the Right Cleaning Solution
Now that you’ve tackled repairs, it’s time to choose the right cleaning solution for your walls! You’ll want to start with mild soap and lukewarm water for most surfaces, but don’t hesitate to grab a grease-cutting detergent if your kitchen walls are really grimy. The key is picking the right tool for the job—and we’ll show you exactly how to handle everything from everyday dirt to those stubborn stains!
Choosing Your Cleaning Solution
Choosing Your Cleaning Solution
Kitchens and greasy areas need extra muscle. You’ll want a grease-cutting detergent mixed with water to tackle stubborn grime effectively.
- Light dust and dirt: Use warm water with your sponge for gentle cleaning
- Oily kitchen walls: Mix water with grease-cutting detergent for powerful cleaner action
- Final rinse: Apply clean, damp water to remove soap residue and prepare the surface for paint application
After washing, rinse thoroughly with a damp cloth. This removes leftover detergent that could interfere with your paint job. Proper surface preparation is the foundation for a quality result.
Water and Soap Method
The simplest way to prep your walls? Use warm water and a sponge! This basic method tackles dust, cobwebs, and light grime effectively. A considerable amount of dirt comes off with just this simple combination.
For kitchen walls or greasy spots, grab a grease-cutting detergent mixed with water. This potent solution breaks down stubborn buildup that regular soap can’t handle. After washing, rinse thoroughly with a damp cloth to remove any cleaning residue.
Why does this matter for priming preparation? Leftover cleaner interferes with paint adhesion. Finish by wiping your walls with a clean damp cloth one final time. Then comes the necessary step: let everything dry completely before painting.
Clean walls equal professional results.
Handling Tough Stains
While warm water and basic soap work great for everyday dust, some walls need extra firepower! You’re tackling stubborn stains that demand proper preparation before painting.
Tough stain action plan:
- Oil and grease spots – Wash kitchen walls with warm water and grease-cutting detergent, then rinse thoroughly to eliminate residue completely.
- Stubborn marks and scuffs – Use lukewarm water with mild soap, scrubbing in circular motions until stains vanish from your walls.
- Dried grime buildup – Apply your cleaning solution generously, let it sit briefly, then scrub and rinse with a damp sponge.
Complete your wall wash by wiping everything down with a damp cloth. Wait until walls are completely dry before priming. This preparation allows your paint to adhere properly.
Remove Mildew Before It Spreads Under Paint
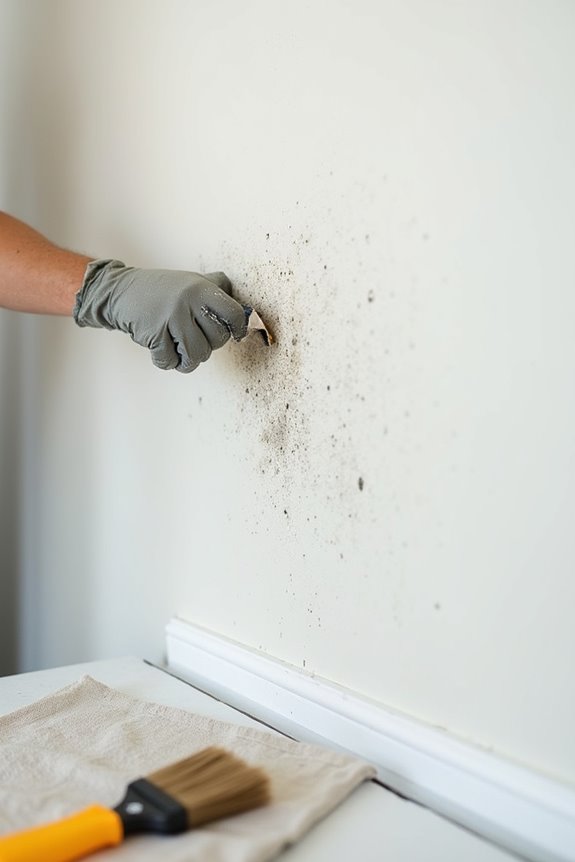
Don’t make the mistake of painting over mildew—it’ll spread right under your fresh coat and create a maintenance nightmare!
Here’s your plan: Mix three to four parts water with one part bleach. Apply this cleaning solution to the affected area and let it sit for a few minutes. Grab a soft brush and scrub away the mildew thoroughly. Rinse everything with clean water.
Protect yourself! Wear gloves and goggles while working. This keeps you safe from the bleach.
Now for the important part: let that area dry completely. Moisture is mildew’s best friend, so don’t rush this step. Once it’s bone-dry, you’re ready to paint with confidence.
Want to prevent mildew from returning? Improve ventilation in your space and fix any moisture sources.
Dry Completely: Wait Times Before Priming
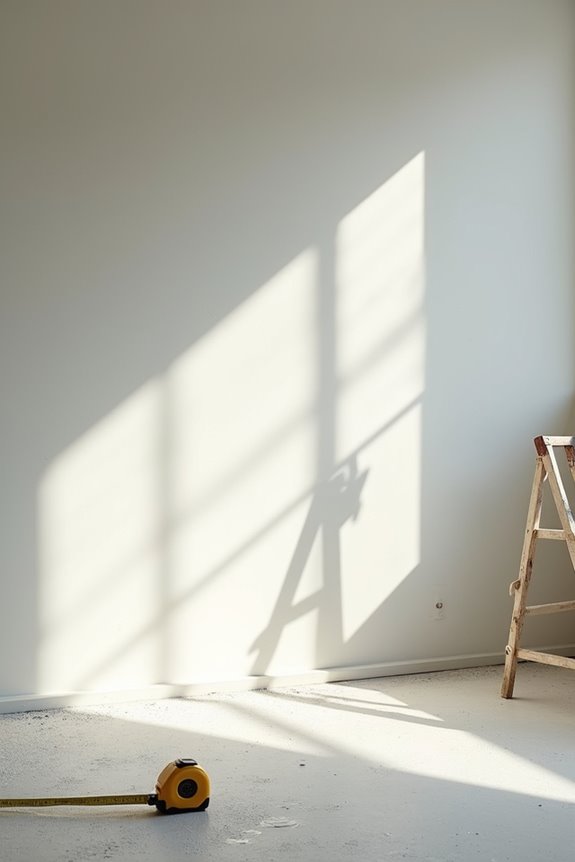
How long should you really wait after washing before you paint? Patience is necessary here—rushing this step ruins your hard work!
After cleaning, your walls need complete drying before masking or applying primer. Here’s your action plan:
- Use a dry cloth to wipe surfaces thoroughly and speed up drying time
- Check humidity levels since moisture lingers longer on damp days
- Look for any sheen or moisture before proceeding—if you see it, wait longer!
Skip this stage and you risk painting over wet walls, which causes peeling and poor adhesion. You’ve already done the tough cleaning work, so finish strong! Wait until there’s zero visible moisture on your walls. Then you’re ready to mask and prime with confidence.
Sand Rough Spots for a Smooth Finish
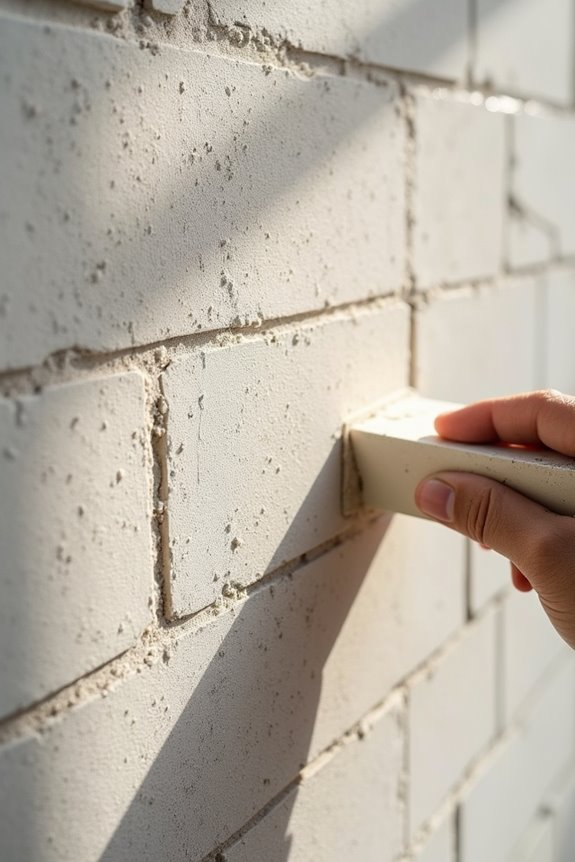
Your walls are almost ready for that fresh coat of paint! Now comes an important prep step: sanding rough spots.
You’ll want to grab some sandpaper or a sanding block and smooth out those uneven surfaces. This creates a uniform texture that paint loves. Why does this matter? Rough walls prevent paint from adhering properly, especially with glossy finishes.
Here’s your game plan: Use fine-grit sandpaper for water-based paints or medium-grit (100–150) for oil-based ones. Work systematically across problem areas.
After you finish sanding, wipe everything down with a damp cloth to remove all dust. Let the wall dry completely before priming.
This finish prep will help you achieve professional-looking results.
Lead Safety: Scraping and Sanding Old Paint
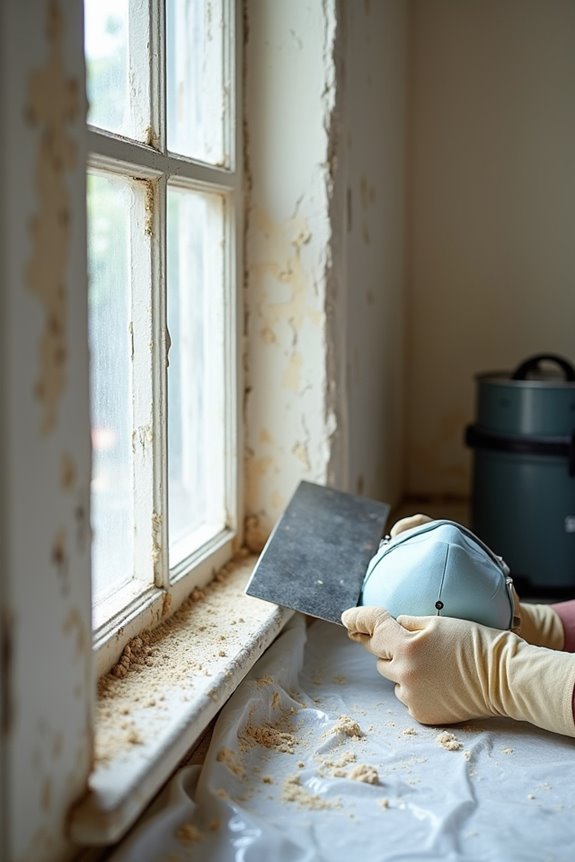
- Use a NIOSH-approved respirator when sanding or scraping old paint
- Avoid dry sanding entirely—wet methods reduce dust significantly
- Clean thoroughly with a HEPA vacuum and wet mop afterward
Don’t skip these steps! If you suspect lead-based paint, contact the EPA or National Lead Information Hotline for guidance. Professional testing can confirm what you’re dealing with. Taking these safety precautions now means you’re protecting yourself and your family.
When Primer Is Essential After Cleaning
Do you really need primer after washing your walls? The answer depends on what you’re dealing with!
If your cleaned walls show patches, stains, or rough spots, primer is necessary. It creates better adhesion and gives you a smooth, uniform base for paint. You’re investing in a professional-looking finish!
However, if your walls are clean with minimal color changes and no damage, you might skip primer. But here’s the thing: drastic color changes almost always require it.
Think of primer as your wall’s best friend. It hides imperfections and supports your top coat in looking polished. Before applying primer, let your walls dry completely—this maximizes adhesion and quality.
Check your paint label for specific primer requirements. Different surfaces need different primers.
Wallpaper vs. Washing: Which Path to Paint?
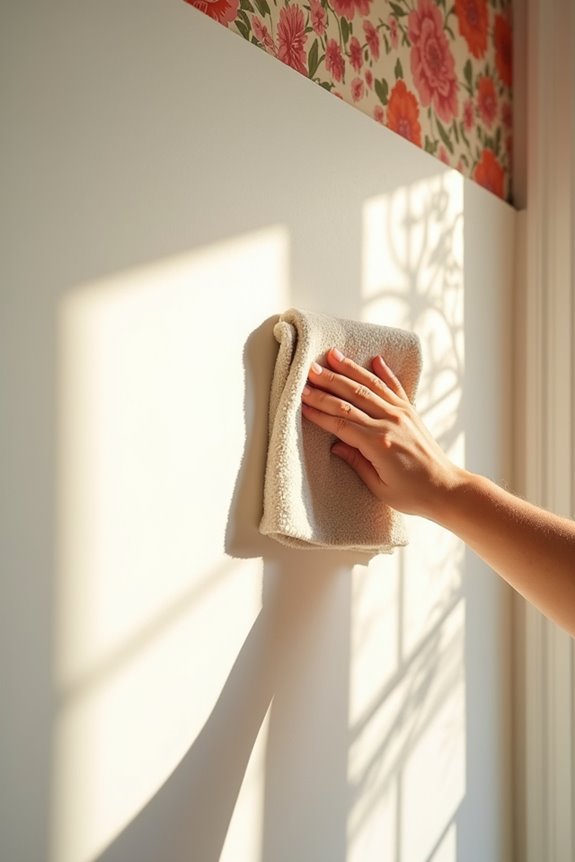
Before you grab that paintbrush, you’ll need to make an important choice: should you wash your existing walls or remove the wallpaper first?
Here’s the truth: wallpaper and paint don’t mix well. Premium paint won’t hide those stubborn seams, leaving your walls looking unfinished. Instead, consider this prep strategy:
- Remove wallpaper completely before starting your painting project
- Wash bare walls thoroughly using mild soap and lukewarm water
- Dry everything completely before taping or priming begins
When you remove wallpaper first, you’re setting yourself up for success! Your washing process becomes straightforward, and your final paint job looks professional. This prep work might seem tedious, but many painters have taken this proven path and achieved excellent results. Your walls will look their best with the proper preparation.
Common Mistakes That Compromise Paint Adhesion
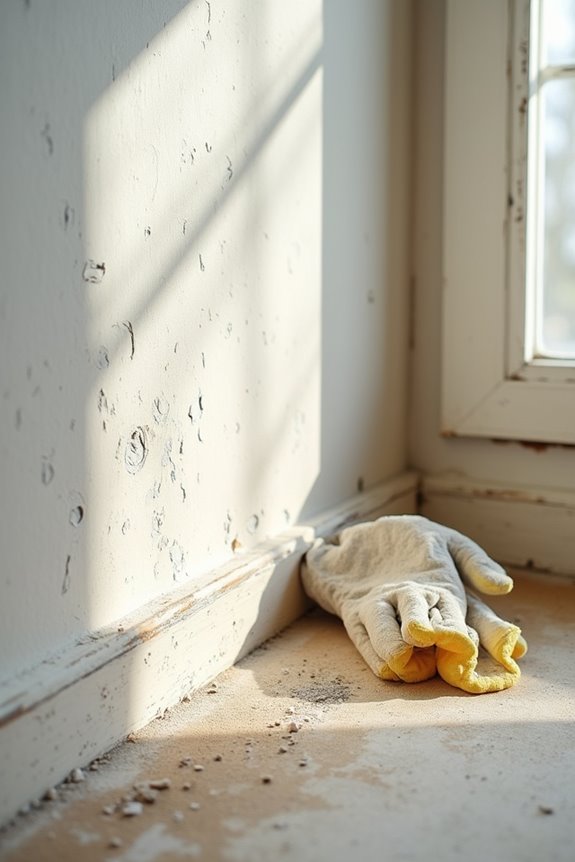
| Mistake | Result | Solution |
|---|---|---|
| Skipping washing | Paint peels and blisters | Clean with mild soap and water |
| Rushing the drying process | Trapped moisture under paint | Wait until walls are completely dry |
| Neglecting greasy kitchen walls | Poor adhesion and uneven finish | Use grease-cutting detergent for prep |
You’ll also trap moisture under your tape and primer if you don’t dry walls thoroughly. Moisture causes blistering, mold growth, and premature paint failure. Take your time with proper prep work—your paint job depends on solid adhesion.