Start by measuring your window width and adding eight inches for a polished look.
Next, choose wall or ceiling mounting based on your space.
Calculate brackets needed—wider windows need more support.
Mark positions carefully with a level, then assemble your rod segments snugly.
Thread panels onto the rod, screw on finials, and check everything’s level and stable.
Follow the detailed guidance below for a successful installation.
Measure Your Window and Calculate Rod Length
Why does getting your measurements right matter so much? Accurate measurements set you up for success! You’ll avoid costly mistakes and create the polished look you’re after.
Accurate measurements set you up for success and help you avoid costly mistakes while creating the polished look you’re after.
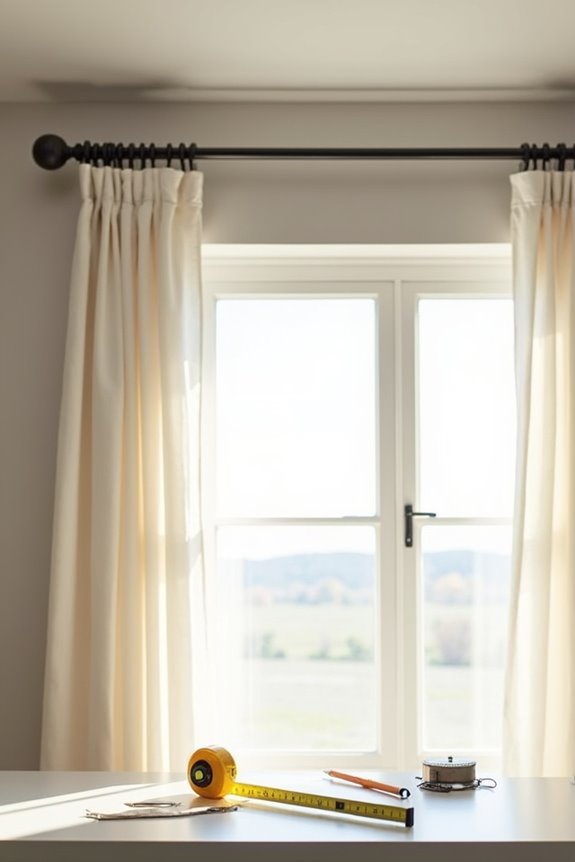
Start by measuring your window width including the window trim. Add 8 inches to this number—that’s your basic rod length. Want something more dramatic? Extend it 16–20 inches beyond the window for a full appearance. This extra length lets your curtains frame the space beautifully.
Next, curtain rod placement depends on your panel widths too. Multiply your window width by 2 for properly gathered panels that look luxurious, not skimpy.
Pro tip: Write down every number! Jot down measurements twice to catch errors early. Precise measurement means gorgeous results!
Choose Your Mounting Method: Wall or Ceiling
| Method | Ease | Light | Stability |
|---|---|---|---|
| Wall | High | Good | Excellent |
| Ceiling | Medium | Maximum | Very Good |
| Track Systems | Medium | Good | Excellent |
Consider your space and room layout. Which mounting height works best for your needs? Select the method that fits your preferences and skill level.
Determine Rod Height Based on Your Ceiling Type
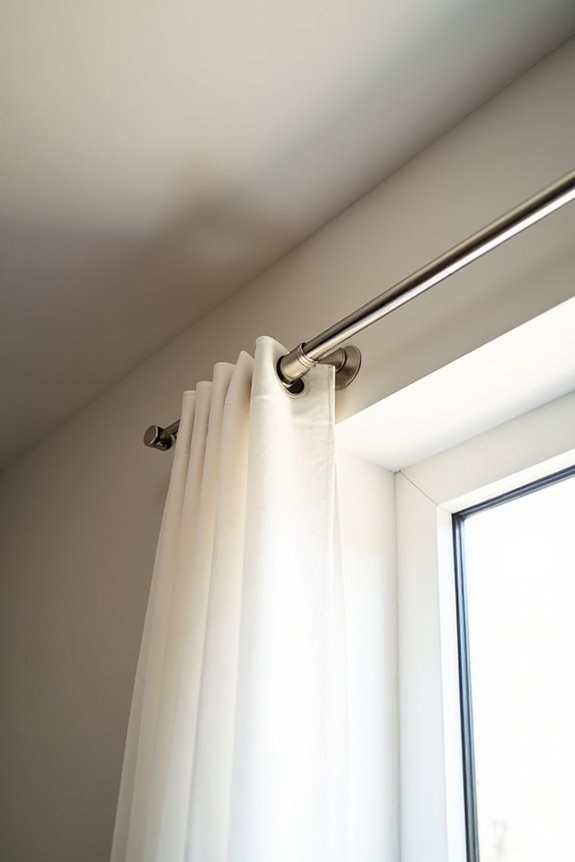
- Standard ceilings: Mount your rod 4 to 6 inches below the ceiling to create a strong vertical line that makes rooms feel taller
- Cathedral or tall ceilings: Place rods higher, closer to the ceiling, maximizing perceived height and keeping proportions balanced
- Crown molding present: Position your rod directly below the molding for a clean transition
Always mount above the window frame using proper wall anchors. This visually enlarges your window opening and adds openness to your walls.
Figure Out How Many Brackets You Need
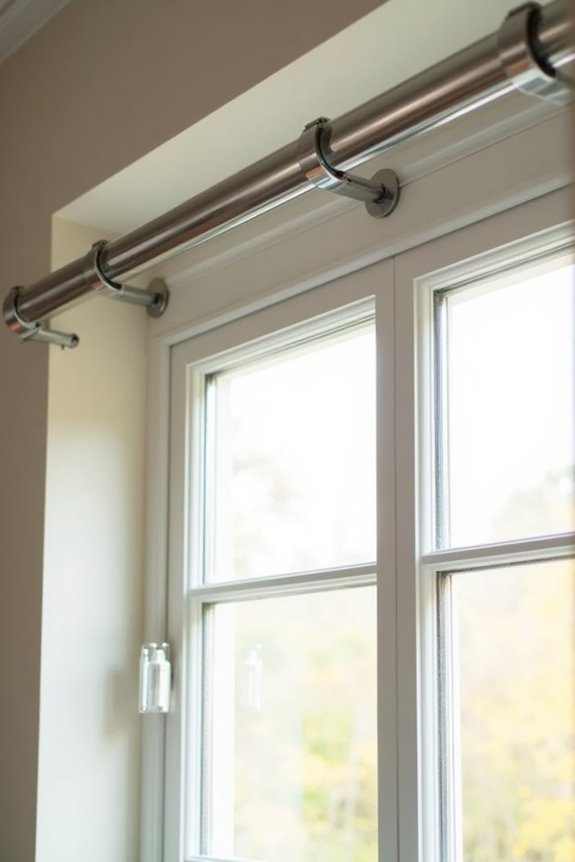
You’ll need to figure out exactly how many brackets keep your curtains from sagging—and it’s easier than you think! Your bracket count depends on three main things: whether you’re using a track system or rod-and-ring setup, how wide your window is, and whether you’re going single or double track. Check your hardware’s installation guide for the specific bracket recommendations, because wider windows (like those over 60 inches) definitely need more support than smaller ones!
Bracket Quantity Guidelines
How many brackets do you actually need for your curtain rod?
The answer depends on your specific setup, so consult your installation guide first! Here’s what matters:
- Track system brackets vary based on single versus double configurations across different width ranges (12–36, 36–60, 60–84, 84–103 inches)
- Wall-mounted installations typically need fewer brackets than ceiling-mounted setups, which require extra support
- Wider curtain installations demand proportionally more brackets for stability
Don’t guess on bracket counts—your hardware manufacturer provides exact recommendations! If you’re installing across 60 inches, you’ll need different support than a 36-inch window. Ceiling-mounted options even extend to about 20 feet in some systems.
Match your width to the correct category, grab the recommended bracket count, and you’re ready to hang those curtains with confidence!
Track System Specifications
When you’re installing a track system, the bracket count isn’t one-size-fits-all—it changes based on your track width and configuration. You’ll need different wall brackets for single versus double setups. Here’s what matters: narrow tracks (12-36 inches) need fewer brackets, while wider installations demand more support. A 60-84 inch track system requires substantially more bracket counts than smaller widths. Your installation guide specifies exact requirements for each measurement range. Check your manufacturer’s documentation first—it’s your roadmap. Once you know your bracket count, gather your carrier pins and appropriate hardware. Proper spacing prevents sagging and keeps your curtains hanging correctly. Your installation will work well when you follow these specifications.
Rod & Ring Considerations
Why does bracket count matter so much for rod and ring systems? You’re building support for your entire window treatment! Getting brackets right prevents sagging curtains and keeps everything secure.
Here’s what you need to know:
- Match your track width to bracket needs—12–36 inches requires fewer brackets than 60–84 inches, so wider spans demand more support
- Choose single or double ceiling brackets—double configurations work best for heavier curtains and larger installations
- Space wall brackets evenly across your span—proper spacing prevents gaps and maintains balanced weight distribution
Always check your manufacturer’s installation guide for exact bracket quantities. Larger window spans up to 20 feet need proportionally more brackets. Take time to count correctly, and your rod & ring system will hang well for years.
Mark and Level Your Bracket Positions
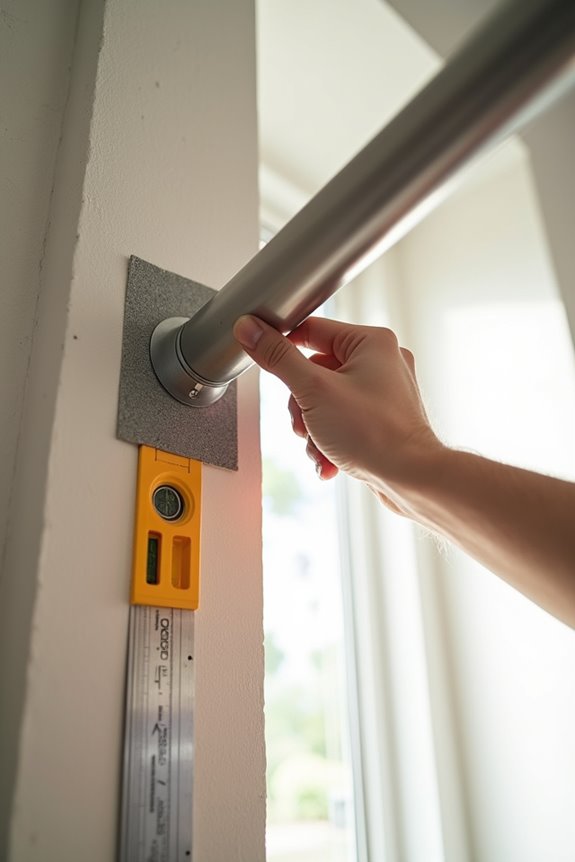
Now you’re ready to mark where your brackets go, and this is where precision matters. Grab a pencil and use a level to mark each bracket position—you’ll want both sides perfectly even so your rod hangs straight and doesn’t look wonky. Double-check your marks with the level before you drill, because getting this step right now saves you from frustrating mistakes later.
Pencil Marking Techniques
How accurate are your marks? You’re about to find out! Using a pencil to mark your bracket positions creates a clear guide you can see and adjust before committing to drilling.
Here’s your marking plan:
- Use a level tool to keep both bracket marks even and straight across your wall
- Mark studs first when possible, then plan drywall anchors for any remaining positions based on your curtain weight
- Create pilot holes only after you’ve verified your pencil marks form a level line
Take your time with these pencil marks—they’re your foundation! You’re building confidence with every measurement. Once you’ve double-checked that everything lines up, you’re ready to drill with assurance.
Level Alignment Verification
Your pencil marks are ready, and now comes the part that separates a professional-looking installation from one that looks crooked.
Grab your level—this tool is essential for accuracy. Place it horizontally across both bracket markings. Check that your marks sit perfectly even. If the level’s bubble drifts, adjust your marks until it centers perfectly.
Now verify alignment vertically. Your markings should run parallel on both sides of the window. This prevents that frustrating crooked appearance that signals poor workmanship.
Double-check everything! Look at your brackets from across the room. Do they look balanced? Are they parallel? Verify the alignment yourself.
You’re almost there. These leveling steps guarantee professional results. Take your time—rushing this part leads to mistakes later. Complete this step carefully.
Drill Pilot Holes and Secure Brackets
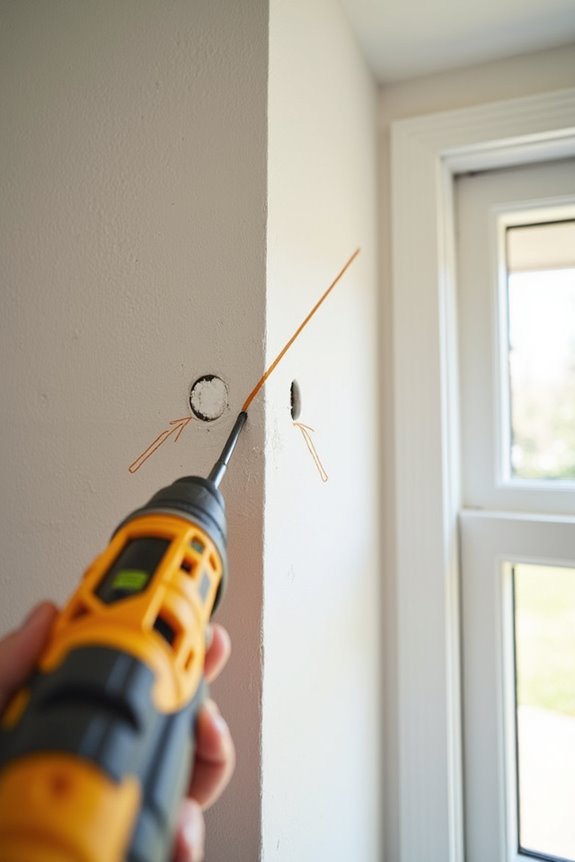
Ready to secure those brackets? Here’s where the work happens!
You’ve got your spots marked, so it’s time to drill. Use the right pilot holes with an appropriate bit—usually 1/4 inch works well. Before you start, grab your stud finder and check the wall structure. This step prevents problems later!
Now here’s your action plan:
- Drill pilot holes at marked locations with steady, controlled pressure
- Use wall anchors if you’re hitting drywall instead of studs—match anchor size to your bracket weight
- Insert screws carefully, avoiding overtightening that damages your walls
Slide those brackets onto the wall with confidence. You’re building something functional and well-made. Next up, you’ll mount your rod system and hang those curtains like a professional. You can complete this task!
Assemble Your Rod to the Correct Length
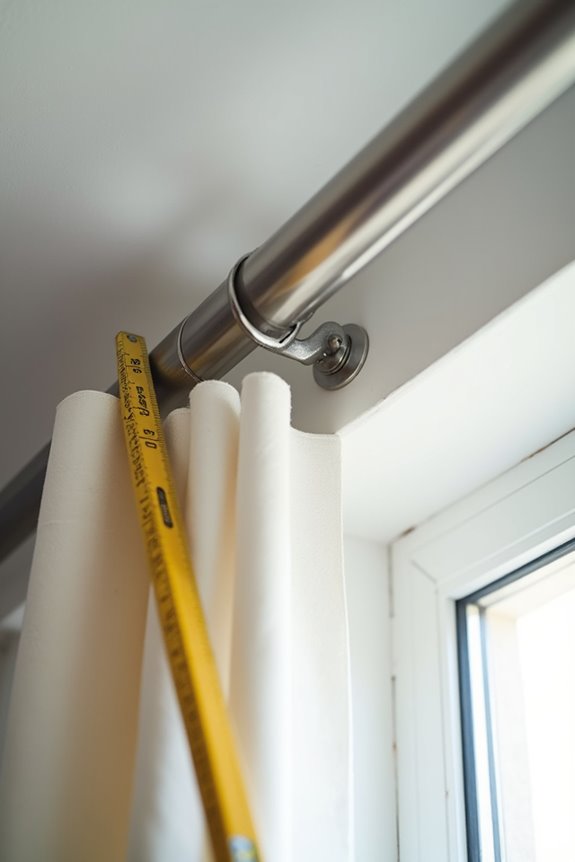
Now you’re ready to measure your window width and get your rod to the perfect length—just add 8 inches to that measurement for a professional look that extends beyond the frame! If your window’s wider than your single rod piece, you’ll connect multiple segments (like D and E pieces) by tapping the joints snugly together until they’re completely secure. Once you’ve got everything lined up and locked in place, you’re all set to install those finials and hang your rod with confidence!
Measuring Your Window Width
Getting the rod length right is what separates curtains that look professional from ones that look awkward. You’ll want to measure carefully because this step determines your entire project’s success.
Here’s how you measure your window width correctly:
- Measure the full window including trim from one side to the other for your base measurement
- Add 8 inches (20 cm) total to extend beyond the frame and create a polished appearance
- Calculate width × 2 for your curtain fabric to achieve full, gathered coverage
Don’t overlook rod clearance either! You’ll need up to 8 inches for finial space. Check your wall clearance too—make sure nothing blocks your installation. Accurate measurements lead to quality results.
Connecting Rod Segments Properly
Once you’ve got your measurements locked in, it’s time to assemble your rod to match that exact length! Start by inserting joint E into your end segment G, then tap it snug with a mallet until it’s secure. Need a longer rod? Add middle segments H and additional joints between them. Connect the opposite end by sliding another end segment G onto the remaining joint. Now here’s the satisfying part: slide the protective cap F over the connection to finish! Screw your finials onto the rod and tighten any set screws firmly. Finally, double-check that your completed curtain rod segments match your measured specification perfectly.
Thread Curtain Panels Onto Your Rod or Track
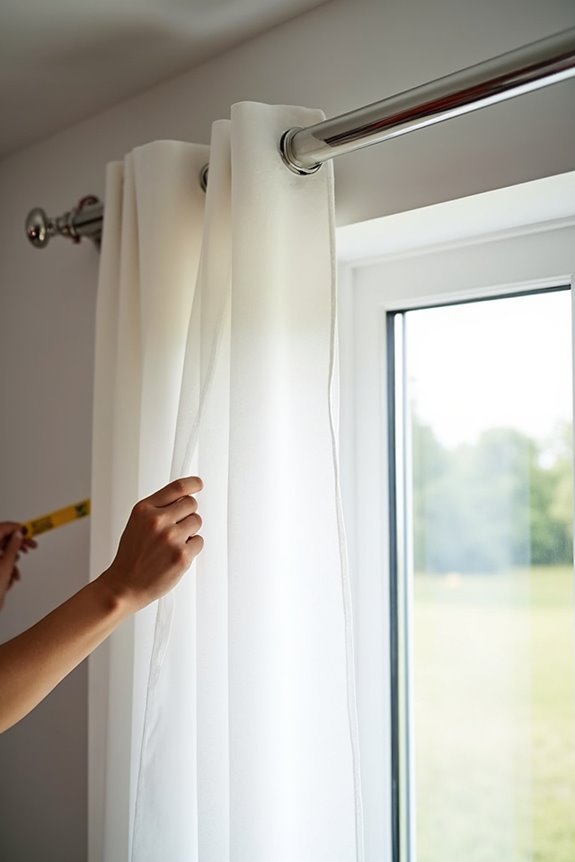
Sliding your curtain panels onto the rod is where your window treatment comes together! This step makes all your hard work visible. Here’s how to thread your panels:
- Remove finials first if your rod has them, then slide each panel smoothly along the rod
- Position panels evenly across the brackets, then reattach those finials to lock everything in place
- For track systems, snap Ripple Fold panels into carriers or use drapery pins with other styles
Now check your work! Do your panels hang straight and level? Adjust them until they look uniform and balanced. Your curtains will frame your windows nicely once threading is complete. Take a moment to review your progress!
Screw On Finials and Lock Everything in Place
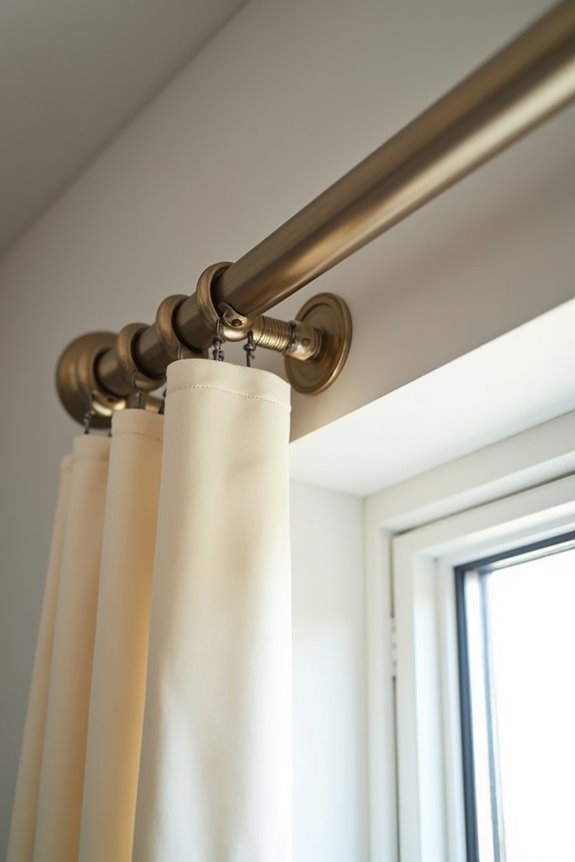
Now that your curtain panels are threaded and hanging beautifully, it’s time to finish the job by securing those finials. You’re almost done—let’s lock everything in place.
First, grab your screw-on finials and check that they’re compatible with your rod. This prevents damage or improper fit. Gently twist or screw each finial onto the rod ends, making sure they’re snug and secure. Tighten the set screws firmly—you don’t want wobbling!
Grab screw-on finials, check compatibility, twist firmly onto rod ends, and tighten set screws to prevent wobbling.
Why does this matter? These finials cap your rod ends, creating a polished, finished look while protecting your fabric from catching on exposed hardware. They’re the final detail that completes your mounting.
Take a step back and admire your work. You’ve successfully positioned your curtain rod like a professional! Your windows now showcase your style perfectly.
Check Stability and Fine-Tune Curtain Length
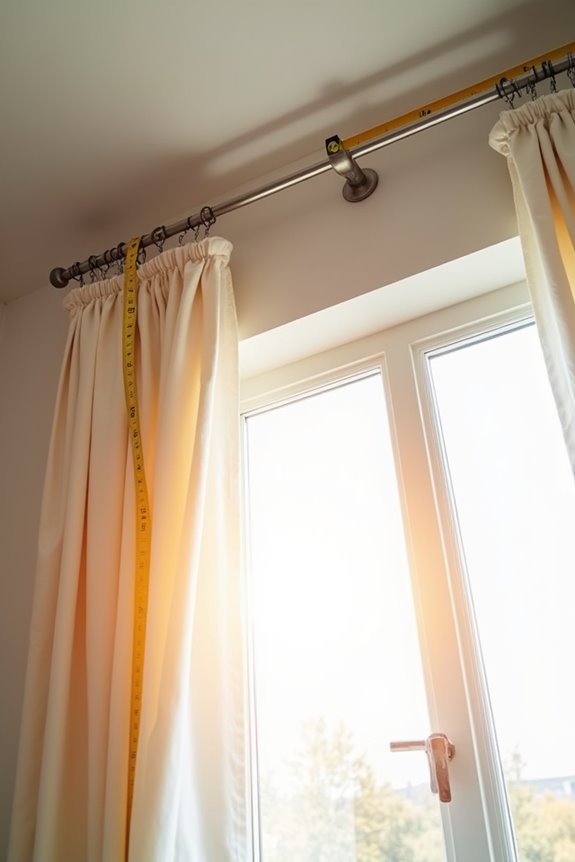
Your finials are locked in place—great job! Now you’re almost done. Let’s make sure everything’s secure and your curtains hang perfectly.
Test your work:
- Apply gentle lateral pressure to the curtain rod brackets to confirm they won’t sag or shift
- Use a level to double-check that your rod sits perfectly horizontal across the entire span
- Verify your wall anchors are holding firm, especially if you’re not anchored into studs
Next, determine your ideal curtain length. You’ve got options! Floor-length creates elegance, while hover or kiss lengths work well for high-traffic areas. Puddle lengths add drama to formal spaces.
Measure twice from your rod to where you want the fabric to end. Your curtain rod brackets support the weight, so getting the length right completes your professional installation.